Imagine you’re stranded, alone, with no help in sight. Your safety depends on one simple thing: shelter.
Knowing how to build a little survival shelter can be the difference between discomfort and staying safe through the night. In this guide, you’ll learn easy steps to create a shelter using materials around you. By the time you finish reading, you’ll feel confident and ready to protect yourself in any emergency.
Keep reading—your survival could depend on it.
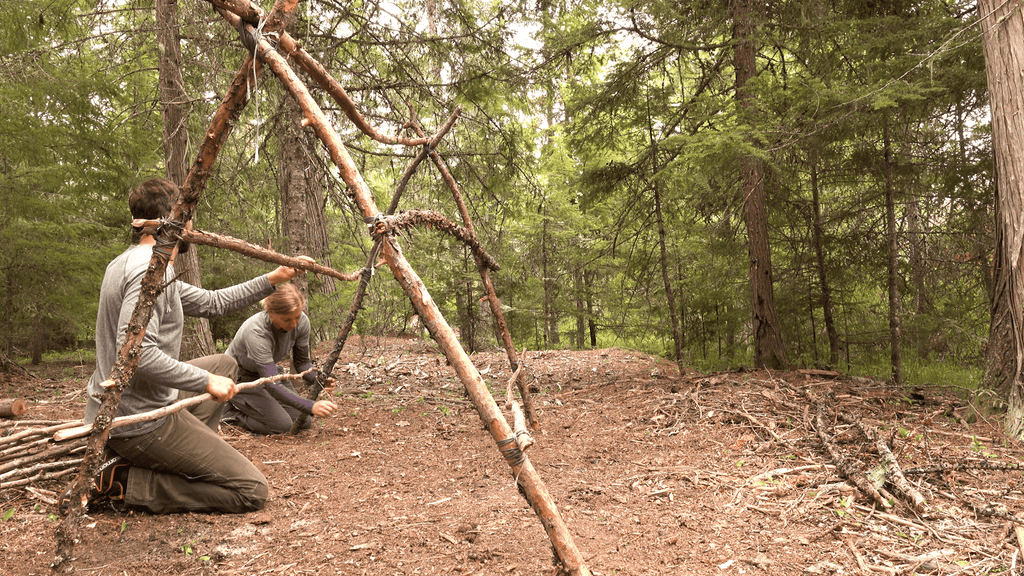
Credit: www.youtube.com
Choosing The Right Location
Choosing the right location for your survival shelter can make all the difference between staying safe and facing unnecessary risks. Your shelter’s spot should protect you from dangers while providing comfort and stability. Think about the environment around you before you start building.
Avoid Hazards
Look around carefully to spot any immediate dangers. Avoid areas near cliffs, unstable rocks, or places prone to flooding. Standing water can attract insects and animals, so steer clear of low spots that collect rain.
Also, be aware of dead trees or branches overhead that might fall. I once built a shelter under a tall tree only to have a large branch snap during a storm. That experience taught me to always check the surroundings thoroughly before settling in.
Find Natural Shelter
Natural features like rock overhangs, dense bushes, or fallen trees can offer great protection. Using these can save time and materials and provide sturdy cover against wind and rain.
Look for places where the terrain naturally blocks wind or offers shade during hot days. A rock wall facing the wind can be a perfect shield, reducing your shelter’s exposure to the elements.
Consider Weather Conditions
Think about the weather you might face while stranded. Is it cold, hot, rainy, or windy? Position your shelter to protect against prevailing winds and to capture sunlight if warmth is essential.
In cold weather, choosing a spot with some sun exposure can help keep you warm. In contrast, if it’s hot, seek shaded areas that will keep you cool during the day.
Where will your shelter be safest and most comfortable given the weather? Your answer will guide where you build.
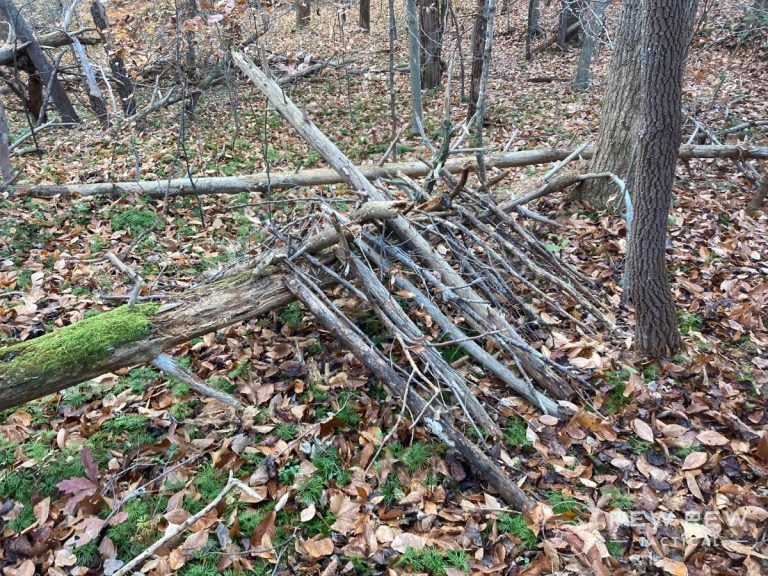
Credit: www.pewpewtactical.com
Gathering Materials
Gathering materials is the first crucial step in building a survival shelter. What you collect will determine how sturdy and effective your shelter becomes. Knowing where and how to find the right items can save you time and energy when every minute counts.
Using Natural Resources
Look around for branches, leaves, and bark that you can use. Dead wood is easier to break and shape, so focus on fallen branches rather than live trees. Leaves and pine needles make excellent insulation and ground cover to keep you dry and warm.
Pay attention to the type of wood—softwoods like pine are lighter, but hardwoods like oak last longer. In one situation, I found a pile of dry twigs under a large pine, which made great kindling and frame material for my shelter. What natural materials are abundant where you are?
Collecting Tools
You don’t need fancy tools, but having a sharp knife or multitool can make a huge difference. If you don’t have those, look for sharp stones or broken glass to cut vines or strip bark. Even a sturdy stick can help you dig or poke holes.
Think about how you can use what’s at hand to make your work easier. I once used a sharp-edged rock to carve notches in branches, making it simpler to tie them together. What everyday items around you could become survival tools?
Prioritizing Lightweight Items
When stranded, every ounce counts. Choose materials that are easy to carry and won’t slow you down. Lightweight branches, dry leaves, and thin vines make excellent building blocks without adding bulk.
Remember, a shelter that’s quick to build and easy to move can be your best friend. On one trip, I avoided heavy logs and instead used smaller sticks bundled tightly for a portable frame. What can you leave behind to travel smarter and build faster?
Basic Shelter Designs
Building a small survival shelter uses natural materials to protect from rain and wind. Choose a safe spot and create a simple frame with branches. Cover the frame with leaves or bark to keep dry and warm.
Building a survival shelter can be the difference between comfort and distress when stranded in the wilderness. A well-constructed shelter provides protection from the elements, warmth, and a sense of security. Knowing a few basic shelter designs can prepare you to handle unexpected situations with confidence.Lean-to Shelter
The lean-to shelter is straightforward and effective. It requires minimal materials, making it ideal if you’re short on time or resources. You simply need a sturdy horizontal pole supported by two trees or vertical posts, and branches or a tarp to lean against it. Start by finding two trees about the same distance apart as the length of your pole. Secure your pole firmly between them. Next, layer branches or a tarp at an angle against the pole, ensuring they overlap to prevent rain from seeping through. Consider wind direction as you build. Position the open side away from the wind to maximize protection.A-frame Shelter
The A-frame shelter offers a bit more coverage and stability. It mimics the shape of a tent, making it cozy and efficient in retaining warmth. You’ll need a ridgepole and two sturdy supports, like trees or stakes. To begin, secure the ridgepole horizontally between two supports. Then, lean branches or other materials at an angle on both sides of the ridgepole, forming an ‘A’ shape. Make sure the structure is symmetrical for balance. This design is particularly useful in colder climates, as it allows you to trap heat inside. Cover the frame with leaves, ferns, or any available debris for added insulation.Debris Hut
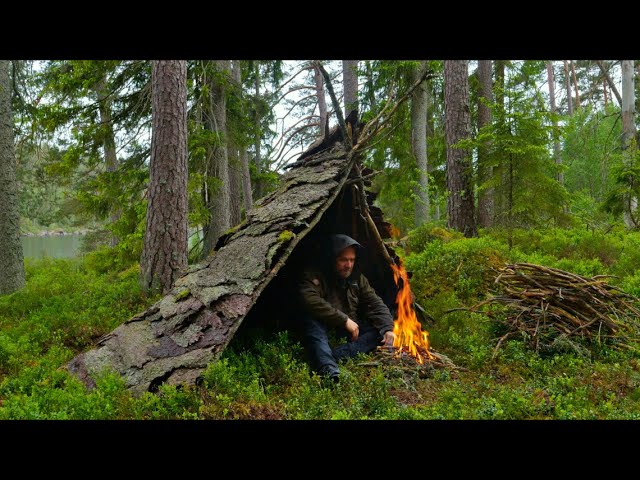
The debris hut is a fantastic option if you’re in an area rich with natural materials. It provides excellent insulation and camouflage, blending seamlessly with the environment. This design is perfect for solo survival situations as it’s compact and efficient. Start by creating a simple frame using a ridgepole supported by a strong base at one end. Pile branches along the sides to form a triangular structure. Then, cover the entire frame with leaves, grass, or any available debris to add insulation. Think about the size: it should be just big enough for you to fit inside snugly. This ensures your body heat warms the space effectively. As you consider these shelter designs, remember that creativity and adaptability are key. What other natural resources can you use to enhance your shelter’s durability and comfort?Building Steps
Building a survival shelter requires careful attention to detail. Each part of the structure plays a crucial role in keeping you safe and comfortable. Let’s break down the essential building steps so you can create a shelter that works well in an emergency.
Creating A Frame
Start by selecting strong, flexible branches for the frame. Look for sturdy sticks that can support weight without snapping. You want to form a basic shape—like an A-frame or lean-to—that will hold your shelter’s shape against wind and rain.
Use a knife or sharp rock to trim branches if needed. Secure the frame by tying intersections with vines, strips of bark, or cordage if you have it. A solid frame is the backbone of your shelter, so spend time making it stable.
Adding Insulation
Insulation keeps you warm by trapping air and blocking cold. Gather dry leaves, pine needles, grass, or moss to pile around and inside your frame. These materials create a natural barrier against the cold ground and chilly winds.
Don’t just cover the top—line the floor inside your shelter with thick layers of insulation. I once underestimated this step and felt the cold seeping up from the ground all night. Avoid that discomfort by layering generously.
Sealing Gaps
Look closely at your shelter for gaps or holes that let wind or rain inside. Use mud, snow, or more gathered materials to fill those spaces tightly. Even small openings can make a big difference in how warm and dry you stay.
Think about how you can block drafts without blocking the entrance completely. A well-sealed shelter feels more like a safe refuge. How would you test your shelter’s seal if you had limited tools and daylight?
Improving Comfort And Safety
Building a survival shelter is more than just creating a roof over your head. Comfort and safety are key to staying healthy and calm in a tough situation. Small changes inside the shelter can make a big difference in your experience. Focus on keeping dry, warm, and secure from outside dangers. These tips help improve your shelter’s livability.
Elevating The Floor
Keep yourself off the cold, wet ground by raising the floor. Use branches, logs, or rocks to build a platform. This layer stops moisture from seeping in. It also reduces heat loss through the ground. A raised floor helps keep bugs and small animals away. Cover the platform with leaves, pine needles, or dry grass. This adds extra insulation and comfort.
Ventilation Tips
Good airflow prevents condensation and keeps air fresh inside. Create small openings near the top of the shelter. These let warm, moist air escape. Also, leave a small gap at the bottom for fresh air to enter. Avoid large holes that let rain or cold wind inside. Use natural materials like leaves or bark to cover vents loosely. This balance helps control temperature and humidity.
Protection From Wildlife
Wildlife can be curious or dangerous. Keep animals away by storing food outside the shelter, far from your sleeping area. Use a hanging bag or place food in a sealed container. Clear the area around the shelter to remove hiding spots. Build a simple barrier with sticks or rocks to mark your space. Make noise regularly to alert animals of your presence. Stay alert and respect wildlife boundaries for safety.

Credit: www.youtube.com
Essential Survival Tips
Building a survival shelter is just the start. Keeping yourself safe and healthy is key. Essential survival tips help you manage basic needs. These tips improve your chances of staying safe and getting rescued.
Maintaining Warmth
Cold can be dangerous. Your body loses heat fast in the wild. Use natural materials like leaves and pine needles to insulate your shelter. Wear dry clothes and stay off the cold ground.
Build a fire safely near your shelter. Fire adds warmth and comfort. Keep the fire small and controlled. Avoid breathing in smoke. Cover your head to keep heat from escaping.
Signaling For Help
Help depends on being seen or heard. Use bright colors or shiny objects to catch attention. Arrange rocks or logs in patterns that stand out. Make loud noises or use a whistle to signal.
Create smoke signals during the day. At night, use firelight or flashlights. Stay near open areas where rescuers can spot you easily. Keep signals simple and clear.
Staying Hydrated
Water is vital for survival. Find clean water sources like streams or rainwater. Avoid stagnant water that can cause illness. Use cloth or sand to filter water if needed.
Collect dew in the morning by wiping leaves with cloth. Boil water to kill germs if you can. Drink small amounts often to avoid dehydration. Save your energy by resting in shade.
Frequently Asked Questions
How Do I Choose The Best Location For A Survival Shelter?
Pick a dry, flat spot away from hazards like flooding or falling branches. Ensure it’s near resources like water and firewood. Avoid animal trails and dense underbrush for safety and comfort.
What Materials Work Best For Building A Survival Shelter?
Use natural materials like branches, leaves, and bark. If available, bring tarps or ponchos. Choose sturdy, lightweight materials that provide insulation and protection from wind and rain.
How Can I Make My Shelter Waterproof And Warm?
Cover the shelter with leaves, pine needles, or bark to seal gaps. Use waterproof materials like plastic sheets if possible. Build a small fire nearby to add warmth safely without risking the shelter’s stability.
How Long Does It Take To Build A Basic Survival Shelter?
A simple shelter can take 1-3 hours depending on skill and materials. Prioritize quick construction and durability. Practice beforehand to improve speed and efficiency in emergencies.
Conclusion
Building a small survival shelter can save your life in the wild. Use simple tools and materials around you. Focus on keeping dry and warm. Choose a safe spot, away from dangers. Practice these steps before an emergency happens. Stay calm and think clearly.
Every minute spent preparing helps your chances. Shelter is your first step to staying safe. Remember, nature can be tough, but you can handle it. Keep learning and stay ready for unexpected situations.

