Imagine facing an emergency where access to fresh food is limited or impossible. Would you be ready?
Knowing how to make a food survival kit can give you peace of mind and keep you safe when the unexpected happens. In this guide, you’ll discover simple, practical steps to create a kit that fits your needs and lifestyle.
By the end, you’ll feel confident that your food supply can last through tough times. Ready to take control of your safety? Let’s get started.
Choosing The Right Containers
Choosing the right containers for your food survival kit is very important. Containers protect your food from damage and spoilage. They must be easy to carry and strong enough to last long. The right containers keep your food fresh and safe. This helps you stay prepared during emergencies or outdoor trips.
Durable And Lightweight Options
Select containers made from strong materials like hard plastic or metal. These materials resist cracks and breaks. Lightweight containers reduce the total weight of your kit. This makes carrying easier during travel or hiking. Avoid glass containers as they can break easily and add weight.
- Hard plastic containers
- Aluminum or stainless steel tins
- Collapsible silicone containers
Airtight And Waterproof Features
Containers must keep air and water out. Airtight seals prevent moisture and bugs from spoiling food. Waterproof containers protect food from rain or spills. Check lids for tight locking mechanisms or rubber gaskets. Airtight and waterproof features extend your food’s shelf life and safety.
- Containers with rubber-sealed lids
- Locking clip mechanisms
- Waterproof zipper bags for extra protection

Credit: backpackerspantry.com
Selecting Non-perishable Foods
Choosing the right non-perishable foods is crucial for building a reliable food survival kit. These foods should last long without refrigeration and provide the energy and nutrients your body needs in tough situations. You want to balance calorie intake, protein sources, and essential vitamins to stay strong and healthy.
High-calorie Staples
High-calorie foods keep your energy up during stressful times. Look for items like rice, pasta, oats, and dried beans. These staples store well and can fuel your body for hours.
Consider adding calorie-dense options such as peanut butter, nuts, and seeds. They are easy to eat and pack a lot of energy in small amounts. Don’t forget to check packaging dates to ensure the longest shelf life.
Protein Sources
Protein is vital for muscle repair and immune support. Canned tuna, chicken, and salmon offer convenient, ready-to-eat protein. You can also include dried lentils, chickpeas, and freeze-dried meat for variety.
Protein powders or bars can be lifesavers when cooking isn’t an option. Think about your cooking setup: if you have limited heat, ready-to-eat options are a must. What protein source would you reach for if you had only one choice?
Vitamins And Minerals
Non-perishable foods often lack fresh nutrients, so add items rich in vitamins and minerals. Canned vegetables, dried fruits, and powdered greens help fill this gap. These foods help prevent deficiencies when fresh produce isn’t available.
Multivitamin tablets can be a practical backup to ensure your body gets what it needs. Don’t overlook the importance of hydration—include electrolyte powders to maintain balance. What’s your plan for keeping your vitamin intake steady?
Incorporating Hydration Supplies
Staying hydrated is one of the most critical parts of any food survival kit. Without enough clean water, your body can’t function properly, no matter how much food you have stored. Including reliable hydration supplies ensures you can maintain energy and stay healthy during emergencies.
Water Storage Solutions
Choosing the right containers for water storage matters a lot. You want containers that are durable, easy to carry, and safe for long-term use. Plastic jugs with screw caps, collapsible water bladders, and stainless steel bottles all work well.
Think about space and weight too. If you’re packing a kit for hiking or evacuation, lightweight options like collapsible bladders will save room. For home storage, large food-grade barrels or water bricks can hold gallons safely.
- Look for BPA-free, food-grade containers to avoid harmful chemicals.
- Label each container with the fill date to track freshness.
- Keep some containers sealed and some ready to refill quickly.
Water Purification Methods
Having stored water is great, but what if you run out or find a new water source? You need reliable ways to make water safe to drink. Carrying purification tools is essential for survival situations.
Some popular purification methods include:
- Water purification tablets:Compact and easy, they kill bacteria and viruses quickly.
- Portable water filters:These remove dirt and harmful organisms on the spot.
- Boiling water:A simple yet effective method if you have fuel and a container.
Have you ever tried purifying water during a camping trip? It can feel like a chore until you realize how much safer it makes your experience. Don’t wait for an emergency to test your purification tools—practice using them now to avoid surprises later.

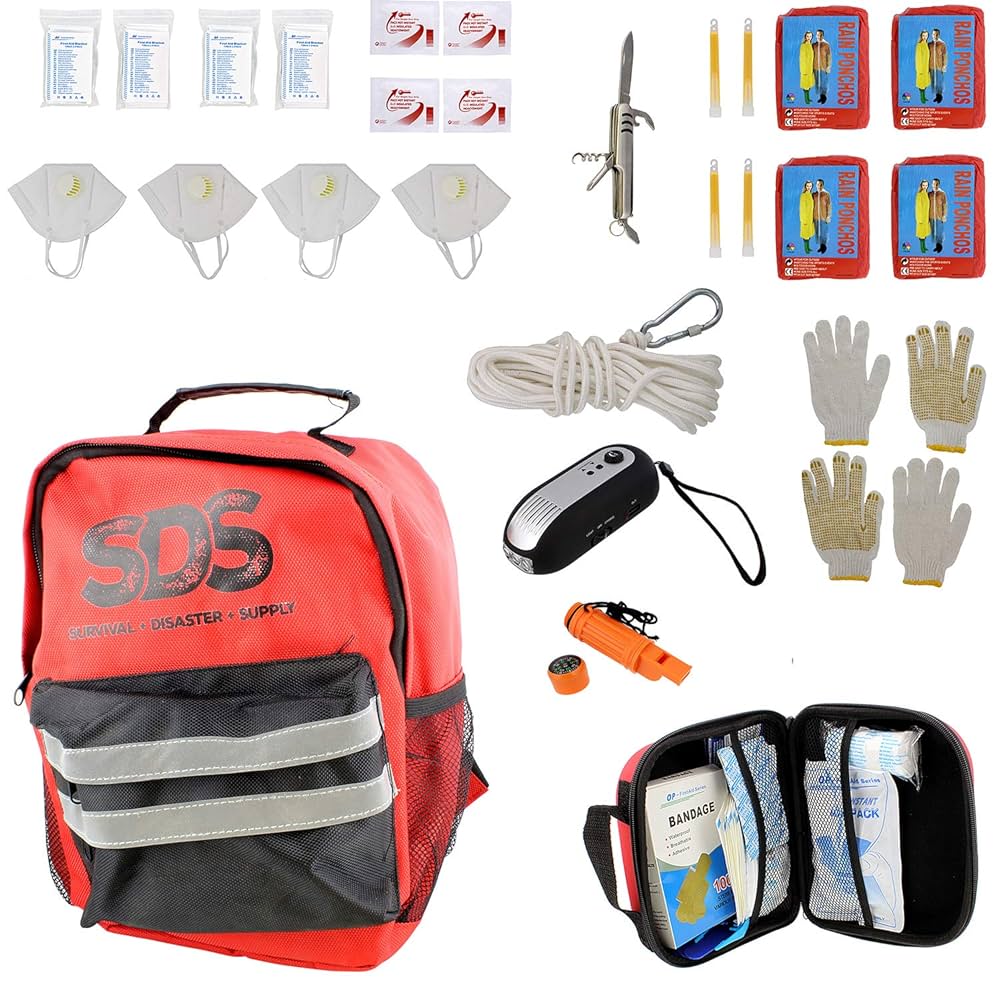
Credit: www.mypatriotsupply.com
Packing Essential Tools
Packing essential tools is a key part of creating a reliable food survival kit. The right tools make cooking and eating easier and more efficient, especially in challenging situations. You want to be prepared without carrying unnecessary weight.
Cooking Equipment
Choose lightweight and durable cooking gear that can handle different heat sources. A compact pot or pan made of stainless steel or titanium is great for boiling water and cooking meals. Consider a small, portable stove or a simple metal grill that fits inside your kit.
Think about how you will cook in various environments—will a pot work over an open fire, or do you need a windproof stove? I once packed a heavy cast iron skillet, only to realize it was too bulky and slow to heat. Learning from that, I switched to a simple titanium pot that fits inside my backpack easily.
Eating Utensils
Your eating utensils should be practical and easy to clean. A spork (spoon and fork combination) saves space and works well for most meals. Add a small, sharp knife for cutting food or opening packages.
Plastic utensils might be lightweight but can break easily. Metal utensils last longer and can double as tools for other tasks. Have you ever struggled to eat a hot meal with just your hands? Proper utensils make a big difference in comfort and hygiene.
Fire Starters
Reliable fire starters are crucial for cooking and warmth. Pack waterproof matches, a lighter, and a ferrocerium rod as backups. Each has its advantages: matches are easy to use, lighters are quick, and ferro rods work even when wet.
Don’t rely on just one method—fires can fail if your only lighter runs out of fuel. I keep all three because on a cold, damp night, having multiple options saved me from eating cold rations. How will you ensure you can start a fire when you need it most?
Organizing And Labeling
Organizing and labeling your food survival kit is key to making it truly effective. Without a clear system, you might waste precious time searching for items or accidentally use expired supplies. A well-organized kit helps you stay calm and efficient in emergencies.
Easy Access And Portability
Arrange your kit so you can grab what you need quickly. Use clear containers or ziplock bags to separate different food types like snacks, proteins, and carbs.
Keep frequently used items near the top or front. This saves time and prevents you from digging through everything.
Consider a portable case or backpack with compartments. This makes it easier to carry your kit if you need to evacuate or move quickly.
Expiration Date Tracking
Label each item with its expiration date using a permanent marker or printed stickers. This simple step stops you from accidentally eating spoiled food.
Organize your kit so items with the earliest expiration dates are in front or on top. This encourages you to use them first, reducing waste.
Keep a checklist or spreadsheet to monitor your supplies’ shelf life. Updating it every few months helps you know exactly when to restock or replace items.

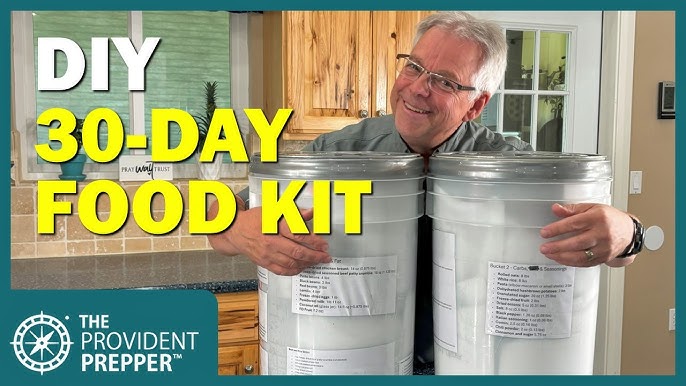
Credit: www.youtube.com
Maintaining And Rotating Supplies
Maintaining and rotating supplies in a food survival kit is essential for readiness. Supplies can expire or lose quality if left unused. Regular care keeps your kit reliable and safe to eat. Proper rotation ensures older items are used first, reducing waste and keeping the kit fresh.
Regular Inspection Tips
Check your food survival kit every three to six months. Look for signs of damage or spoilage. Inspect cans, jars, and packaging for dents, leaks, or rust. Make sure all items are dry and free of mold. Verify expiration dates to avoid using expired food. Keep a checklist to track inspection dates and notes.
Using And Replacing Items
Use the oldest items first to keep the kit fresh. Replace used or expired items immediately after use. Store new supplies behind older ones to maintain rotation. Label items with purchase or expiration dates for easy tracking. Maintain a balance of different food types for nutrition. Regular updates help avoid surprises during emergencies.
Frequently Asked Questions
What Essential Foods Should I Include In A Survival Kit?
Include non-perishable items like canned beans, dried fruits, nuts, and energy bars. Add powdered milk and instant rice for variety. Choose high-calorie, nutrient-dense foods that last long without refrigeration. These options provide energy and nutrition during emergencies.
How Long Can Food In A Survival Kit Last?
Properly stored foods can last from six months to several years. Freeze-dried and dehydrated foods have the longest shelf life. Always check expiration dates and rotate supplies regularly to maintain freshness and safety. Store kits in cool, dry places.
What Equipment Is Needed For A Food Survival Kit?
Include a manual can opener, waterproof containers, and resealable bags. Add a portable stove or fire-starting tools for cooking. Don’t forget utensils and basic hygiene items like wet wipes. These tools ensure you can prepare and consume food safely.
Can I Make A Food Survival Kit On A Budget?
Yes, focus on affordable, long-lasting staples like rice, beans, and pasta. Buy in bulk to save money and store in airtight containers. DIY dehydrating fruits and vegetables can reduce costs. Prioritize essential nutrients without overspending.
Conclusion
Creating a food survival kit is essential. It prepares you for emergencies. Stock it with non-perishable items. Include canned goods, grains, and nuts. Don’t forget water and a manual can opener. Rotate the supplies regularly to ensure freshness. Consider dietary needs and preferences.
A well-prepared kit offers peace of mind. It ensures you’re ready for unexpected situations. Make it a family project. Teach children the importance of preparedness. Store the kit in a dry, accessible place. Stay informed about new survival tips and tricks.
Preparation today secures safety tomorrow. Be ready, stay safe.