Imagine being ready for any emergency without relying on store-bought kits. You have the power to create a survival kit that fits your exact needs, using simple items you can find at home.
This guide will show you how to make a survival kit homemade—step by step. By the end, you’ll feel confident knowing you’re prepared for unexpected situations. Ready to take control of your safety? Let’s get started.

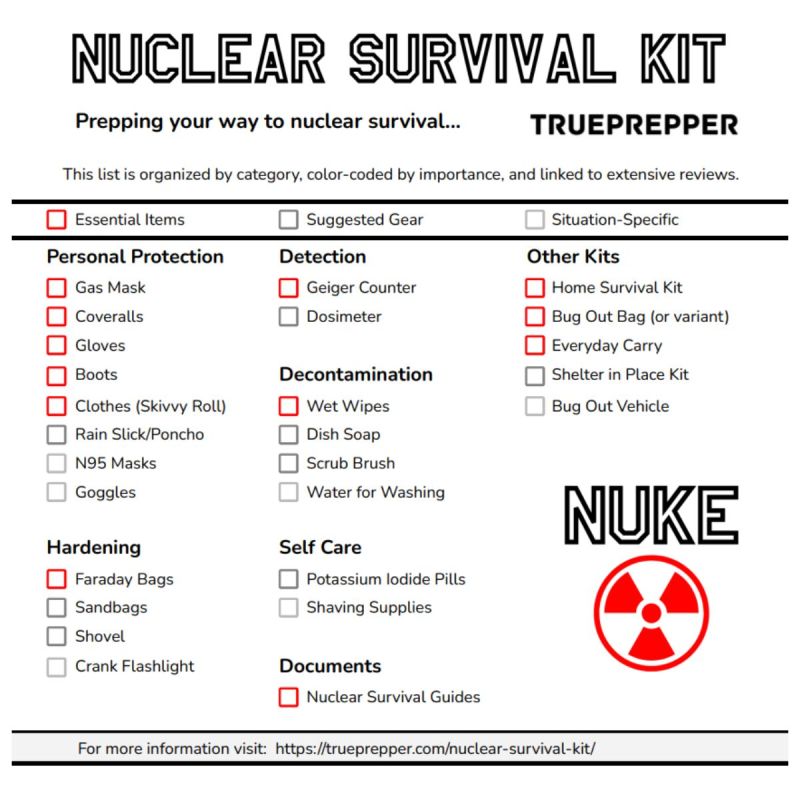
Credit: www.kozyandco.com
Choosing The Right Container
Choosing the right container for your homemade survival kit is crucial. It protects your supplies and keeps everything organized. The container you pick affects how easily you can carry and access your gear during emergencies.
Durability And Size
Your container must be strong enough to withstand rough conditions. Think about materials like hard plastic, metal, or heavy-duty fabric. The size should fit all your essentials without being too bulky or too small.
Consider how many items you plan to include. If you pack food, water, first aid, and tools, your container needs enough space. But avoid oversized boxes that make carrying difficult.
Waterproof Options
Waterproof containers keep your supplies dry, which is vital for survival. Look for airtight seals or waterproof cases made for outdoor use. Even a simple plastic dry bag can protect electronics and paper documents from moisture.
Have you ever opened a survival kit only to find soggy matches or ruined bandages? A waterproof container prevents that frustration and keeps your gear ready when you need it most.
Portability Considerations
Think about how you’ll carry your survival kit. Will it fit inside your backpack, or do you need a container with a handle? Lightweight options are better if you have to move quickly or hike long distances.
Also, consider containers with compartments or straps to keep items organized and easy to grab. Can your container be attached to a belt or bike? Portability can make all the difference in an emergency.
Basic Survival Supplies
Creating a homemade survival kit starts with gathering basic supplies. These essentials help you stay safe and comfortable during emergencies. Focus on items that cover health, food, water, and fire needs. Each item should be reliable and easy to use.
First Aid Essentials
First aid items treat minor injuries and prevent infections. Include:
- Bandages in different sizes
- Antiseptic wipes or solution
- Adhesive tape
- Sterile gauze pads
- Scissors and tweezers
- Pain relievers like ibuprofen or acetaminophen
- Disposable gloves
- Burn cream or ointment
Keep these supplies organized in a waterproof container.
Food And Water Storage
Food and water keep your energy up in tough times. Choose non-perishable food items such as:
- Canned goods with pull tabs
- Energy bars or trail mix
- Dried fruits and nuts
- Powdered milk or instant meals
Store water in clean, sealed containers. Aim for at least one gallon per person per day. Consider water purification tablets or a small filter for emergency use.
Fire Starting Tools
Fire provides warmth, light, and a way to cook food. Include multiple fire-starting tools like:
- Waterproof matches
- A lighter with extra fuel
- Firestarter sticks or tinder
- A small magnifying glass for sunlight ignition
Keep these items dry and accessible inside your kit.
Tools For Shelter And Navigation
Having the right tools for shelter and navigation in your homemade survival kit can make a huge difference in a tough situation. These tools help you stay safe, find your way, and create a comfortable spot to rest. Let’s look at what you should include to cover these essentials without overloading your kit.
Compact Shelter Materials
Choose materials that protect you from wind, rain, and cold but don’t take up much space. A lightweight emergency blanket or a small tarp can serve as a quick shelter. I once used a compact tarp to shield myself from sudden rain during a hike, and it was a lifesaver.
Adding paracord is smart because it helps you tie your shelter easily. Also, consider a small roll of duct tape—it fixes tears quickly and can secure your shelter tightly. These items fold down small but offer great protection.
Navigation Aids
Getting lost is a real risk outdoors, so pack reliable navigation tools. A basic compass is a must-have; it doesn’t rely on batteries and guides you when the sun or stars aren’t visible. I remember once relying solely on a compass to find my trail after my phone died.
Include a detailed map of your area in a waterproof sleeve. You can also add a whistle to signal for help if you get disoriented. These aids work together to keep you on track and make rescue easier.
Multi-purpose Tools
A multi-purpose tool can save space and weight by combining several functions. Look for one with a knife, pliers, screwdrivers, and scissors. These tools help with shelter building, repairs, and even food preparation.
My go-to multi-tool has helped me fix gear, cut rope, and open cans during trips. Investing in a sturdy, reliable model means you won’t be caught unprepared. What multi-tool functions do you find most useful in the wild?

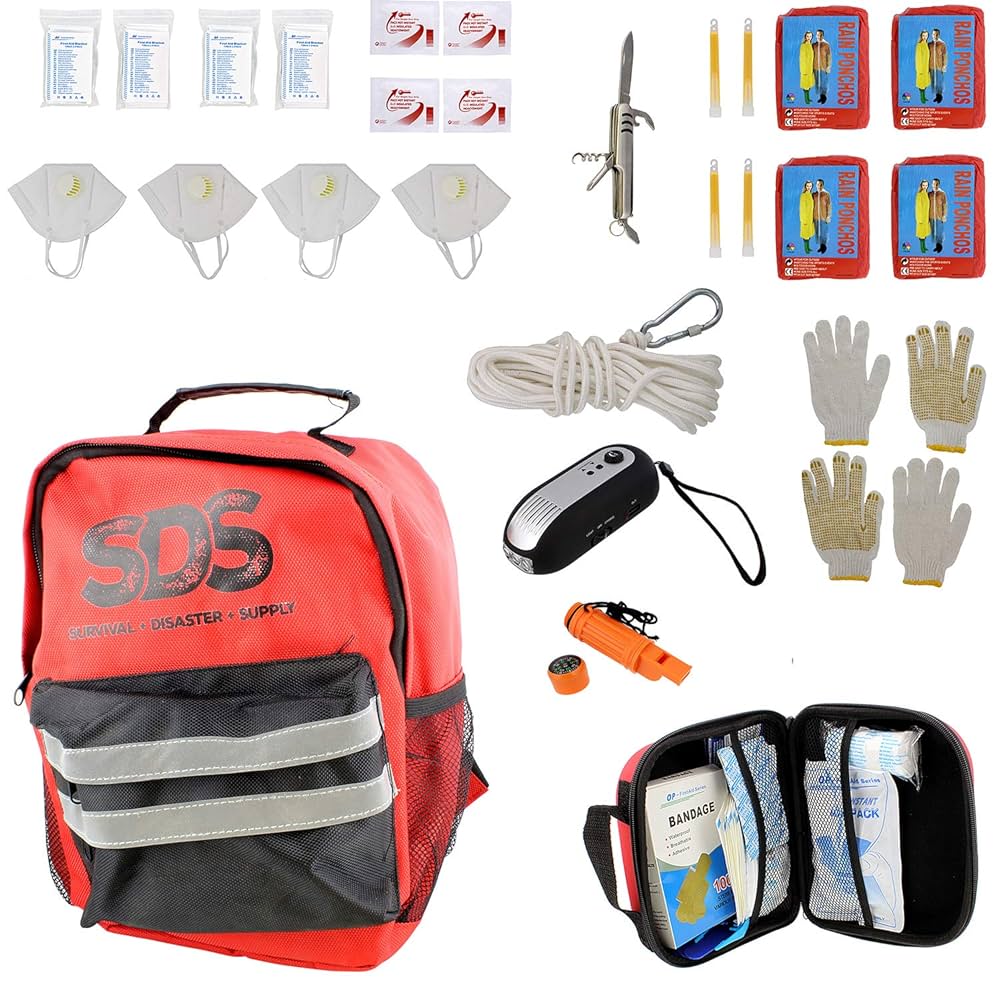
Credit: grimworkshop.com
Personal Safety Items
Personal safety items are essential for any homemade survival kit. These items protect you from harm and help you stay connected during emergencies. They give you confidence and improve your chances of staying safe. Focus on including gear that shields your body, tools for communication, and devices to signal for help.
Protective Gear
Protective gear keeps you safe from physical dangers. Include items that guard your head, hands, and eyes. A sturdy pair of gloves prevents cuts and scrapes. Safety goggles protect your eyes from dust and debris. A durable helmet can shield your head from falling objects. Consider knee and elbow pads for extra protection during rough terrain. Choose lightweight and compact gear for easy carrying.
Emergency Communication
Communication tools help you reach others when in trouble. A fully charged mobile phone is a must-have. Include a portable power bank to keep it running longer. A whistle allows you to call for help without using power. A small notepad and pencil help you write messages. Two-way radios are useful for short-distance communication. Make sure these devices are easy to use and store.
Signal Devices
Signal devices alert rescuers to your location. Bright-colored flags or cloth can be waved to attract attention. A mirror reflects sunlight to send flashes visible from far away. Flares or glow sticks provide light signals at night. A loud whistle creates sound signals that travel far. Compact signal lights that blink help rescuers find you in the dark. Pack these items in a waterproof container to keep them usable.
Customizing Your Kit
Customizing your survival kit is essential to make sure it fits your unique situation perfectly. A one-size-fits-all approach can leave you unprepared for specific challenges you might face. Tailoring your kit means thinking about where you live, what you need, and the time of year, so you’re truly ready for emergencies.
Considering Local Environment
Think about the climate and geography around you. Are you near mountains, forests, or a coastal area? Your survival kit should reflect the risks you might encounter, such as including a water filter for river crossings or extra sunscreen for sunny regions.
Wildlife threats also matter. If you live in bear country, bear spray or noise makers could be lifesavers. In urban areas, focus more on first aid and tools for self-defense or communication.
Tailoring To Personal Needs
Everyone’s health and skills are different. If you have allergies, add necessary medications and avoid items that could trigger reactions. Do you know how to use a compass or start a fire? If not, include simple tools and instructions that suit your experience level.
Consider the size and weight of your kit too. If you’re carrying it daily, keep it compact. If it’s for home use, you can afford to add more supplies and equipment.
Seasonal Adjustments
Survival needs change with the seasons. In winter, pack extra warm clothing, hand warmers, and high-energy food. Summer kits might focus more on hydration, insect repellent, and sun protection.
Think about how weather affects your ability to travel or find shelter. Changing your kit with the seasons can make a big difference in how comfortable and safe you feel during an emergency.
Maintenance And Storage Tips
Keeping your homemade survival kit ready and reliable requires more than just assembling items once. Regular attention ensures everything works when you need it most. Let’s look at how you can maintain and store your kit effectively to avoid surprises during emergencies.
Regular Inspection
Check your survival kit every three to six months. Look for worn-out packaging, broken seals, or any visible damage. This simple habit helps you catch problems early before they become critical.
Ask yourself: Are all the tools functional? Are food and water supplies intact? Inspecting frequently keeps your kit trustworthy.
Replacing Expired Items
Expired food, batteries, and medications lose effectiveness over time. Mark expiration dates on your calendar or set reminders on your phone. This way, you can swap out old items promptly without waiting for a crisis.
Don’t wait until the last minute to restock. Having fresh supplies means you won’t waste valuable resources when time is tight.
Proper Storage Practices
Store your kit in a cool, dry place away from direct sunlight and moisture. Extreme heat or dampness can damage supplies and reduce their lifespan. A sturdy, waterproof container is a smart choice to protect everything inside.
Consider keeping your kit somewhere easy to access quickly—like near your front door or in your car. Think about your daily routines and choose a spot that fits naturally with your lifestyle.

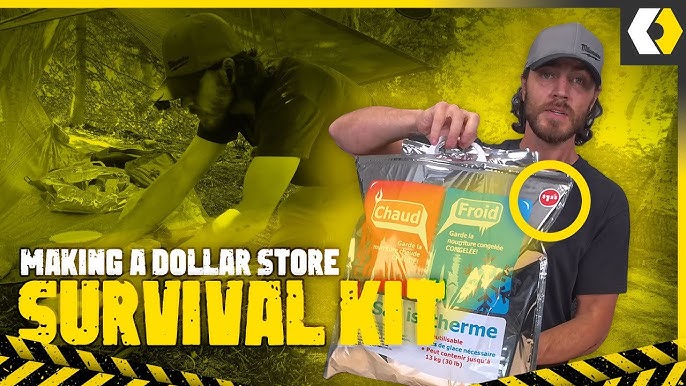
Credit: www.youtube.com
Frequently Asked Questions
What Items Are Essential In A Homemade Survival Kit?
A homemade survival kit should include a first-aid kit, water purification tablets, non-perishable food, flashlight, and multi-tool. Add a whistle, emergency blanket, and waterproof matches. Customize it based on your environment and needs. Regularly check and update the contents to ensure they’re functional and not expired.
How Do You Store A Homemade Survival Kit?
Store your homemade survival kit in a waterproof, durable container. Keep it in an easily accessible location. Ensure the container is lightweight for portability. Regularly check the kit to replace expired items. A backpack or a sturdy plastic bin works well for storage.
Label it clearly for quick identification in emergencies.
How Often Should You Update A Survival Kit?
Update your survival kit every six months. Check expiration dates on food and medical supplies. Replace items as needed to ensure effectiveness. Regular updates help maintain preparedness for emergencies. Consider seasonal changes and adjust contents accordingly. Keeping your kit up-to-date ensures you’re always ready for unexpected situations.
Can Children Help Make A Survival Kit?
Yes, children can help make a survival kit. Involve them by assigning simple tasks like organizing items. Teaching them the importance of each item increases their preparedness. Ensure they know how to use basic tools in the kit. It’s a great educational activity fostering responsibility and awareness.
Conclusion
Building your own survival kit takes time and care. Choose items that suit your needs and environment. Keep your kit organized and check it often. Practice using your kit to stay prepared. A good kit can help you stay safe in emergencies.
Start small and add items as you learn. Stay ready, stay calm, and trust your kit. Preparedness brings peace of mind every day.