Imagine being ready for any unexpected situation—whether it’s a power outage, a sudden storm, or a hiking trip gone off plan. Your safety and peace of mind start with one simple step: creating your own DIY survival kit.
You might think it’s complicated or expensive, but it’s actually easier than you believe. In this guide, you’ll discover exactly what you need and how to put it together quickly and affordably. Keep reading, because your survival kit could be the difference between stress and calm when it matters most.
Choosing The Right Container
Choosing the right container for your DIY survival kit is a crucial first step. It protects your supplies and keeps everything organized. Your container needs to fit your environment and how you plan to carry your kit.
Durable And Portable Options
Durability is a must. Your container should withstand rough handling, drops, and weather changes without breaking or cracking. Look for materials like hard plastic, metal tins, or heavy-duty fabric pouches with reinforced stitching.
Portability matters just as much. A bulky container might hold everything but will weigh you down during an emergency. Think about how you will carry it—can it fit in your backpack, glove box, or belt? Choosing a container with handles or clips can make a big difference when you’re on the move.
Waterproof And Airtight Features
Water and air can ruin your survival supplies quickly. Opt for containers with waterproof seals or airtight lids to keep moisture and dust out. This protection extends the shelf life of your food, matches, and electronics.
Consider containers with rubber gaskets or screw-top lids that lock tightly. Even a small leak can let water in during rain or if you accidentally drop your kit in a puddle. Have you tested your container by submerging it briefly to check for leaks? It’s a simple test that can save you from ruined gear later.
Essential Survival Tools
Building a DIY survival kit means choosing tools that can truly make a difference when you face unexpected situations. Essential survival tools are the backbone of your kit. They help you secure food, build shelter, start a fire, and handle emergencies efficiently.
Cutting And Cutting Tools
Sharp cutting tools are critical for survival tasks like preparing food, crafting shelter, or making kindling. A sturdy fixed-blade knife works well for heavy-duty jobs, while a folding knife offers convenience and portability. Don’t forget to include a small saw or wire cutter to handle tougher materials like branches or wires.
Think about the last time you had to cut something quickly. Did your tool feel reliable and safe? If not, upgrading your cutting tools can save you time and frustration in a real survival situation.
Fire Starting Equipment
Fire is essential for warmth, cooking, and signaling. Your kit should have multiple ways to start a fire to ensure reliability under different conditions. Carry waterproof matches or a lighter for quick ignition, and add a ferrocerium rod for sparks when other methods fail.
Remember, even a wet environment won’t stop a ferro rod from producing sparks. Have you practiced starting a fire with your tools? Gaining confidence with your fire starter can be a lifesaver when pressure mounts.
Multi-tools And Knives
Multi-tools combine several functions into one compact device, saving space and weight in your kit. Look for models that include pliers, screwdrivers, scissors, and a knife blade. These tools can handle quick repairs, first aid, and many unexpected tasks.
Carrying a reliable multi-tool means you’re prepared for more than just cutting or fire starting. How often have you wished for an extra hand or tool while outdoors? A good multi-tool fills that gap efficiently.
First Aid Supplies
First aid supplies are the backbone of any DIY survival kit. They prepare you to handle minor injuries and stabilize more serious ones until professional help arrives. Having the right items within easy reach can make a huge difference in an emergency.
Basic Medical Items
Start with essentials like bandages, gauze pads, and adhesive tape. These help control bleeding and protect wounds from infection.
- Assorted adhesive bandages (various sizes)
- Sterile gauze pads and rolls
- Medical tape
- Antiseptic wipes
- Scissors and tweezers
- Disposable gloves
Including a CPR face shield can be a lifesaver. Have you ever thought about how small tools like tweezers can prevent infection by removing splinters or debris quickly?
Medications And Ointments
Don’t just pack supplies—add medications that can relieve pain or fight infections. Pain relievers like ibuprofen or acetaminophen help manage discomfort.
- Antibiotic ointment for cuts and scrapes
- Hydrocortisone cream for itching and rashes
- Antihistamines for allergic reactions
- Anti-diarrheal medication
- Personal prescription medications (if any)
Remember to check expiration dates regularly. Would you want to rely on expired medication in a critical moment?
Emergency Contact Information
Having emergency numbers written down is often overlooked but crucial. Keep a waterproof card with contacts like local emergency services, a family member, and your doctor.
Include any important medical info such as allergies or chronic conditions. Imagine needing help but forgetting who to call—that could cost precious time.
Food And Water Essentials
Food and water are the most important parts of any survival kit. They keep your body strong and help you stay alert. Choosing the right items ensures you have enough energy and hydration for tough situations.
Pack items that last long and need no refrigeration. Keep water clean and easy to carry. Include snacks that give quick energy boosts when you need them most.
Non-perishable Food Choices
- Canned beans and vegetables
- Dry rice and pasta
- Instant oatmeal packets
- Powdered milk or milk substitutes
- Dehydrated soups and meals
- Nut butters in sealed packets
Choose foods with a long shelf life. They should be easy to prepare with little or no cooking.
Water Storage And Purification
- Use durable water bottles or containers
- Store at least one gallon per person per day
- Include water purification tablets
- Carry a portable water filter
- Consider adding a small pot for boiling water
Keep water safe to drink. Purify any found water before use. Clean water prevents sickness.
Energy Snacks And Supplements
- Energy bars with nuts and grains
- Dried fruits like raisins and apricots
- Trail mix with seeds and chocolate
- Electrolyte powder or tablets
- Vitamin supplements for daily needs
These snacks provide fast energy. Vitamins keep your body working well under stress.
Shelter And Warmth
Creating a DIY survival kit means thinking beyond just food and water. Shelter and warmth are crucial to keep you safe and comfortable in unexpected situations. Without proper protection, even mild weather can turn dangerous quickly.
Emergency Blankets And Tarps
Emergency blankets are lightweight, compact, and lifesaving. They reflect your body heat back to you, which helps prevent hypothermia. Always add a sturdy tarp to your kit; it can serve as a quick shelter or ground cover to keep you dry.
Choose a tarp made from durable, waterproof material. A tarp combined with an emergency blanket can create a simple yet effective shelter in minutes. Have you ever tried building a shelter with just a tarp? It’s easier than you think and can make a huge difference.
Clothing And Rain Gear
Layering is key to staying warm. Pack moisture-wicking base layers, insulating mid-layers, and a waterproof outer shell. Avoid cotton because it traps moisture and cools your body down.
Rain gear isn’t just for rain—it blocks wind too. A good poncho or rain jacket can shield you from harsh weather and keep you dry. Think about how your clothes will perform if you get wet or cold—are they up to the challenge?
Fire Starters For Warmth
Fire is one of the most effective ways to stay warm and signal for help. Include multiple fire starters in your kit: waterproof matches, a lighter, and firesteel rods. These options ensure you have backups when one fails.
Practice starting a fire before you need to rely on it. It’s surprising how tricky it can be in wet or windy conditions. Can you light a fire quickly with your kit? If not, spend some time honing this essential skill.

Credit: grimworkshop.com
Navigation And Communication
Navigation and communication tools are vital in any survival kit. They help you find your way and signal for help. These items improve your chances of staying safe in the wild or during emergencies. Choose tools that are reliable and easy to use.
Maps And Compass
Carry a detailed map of the area you might explore. Paper maps work without batteries or signal. A compass helps you find direction quickly. Learn basic map reading and compass skills. These tools guide you back to safety if you get lost.
Whistles And Signal Mirrors
Whistles make loud sounds to attract attention. They are light and easy to carry. Signal mirrors reflect sunlight to send long-distance signals. Both tools use no batteries and work in many conditions. Keep them within easy reach in your kit.
Portable Radios And Chargers
Portable radios provide weather updates and emergency broadcasts. Choose a radio with multiple power options, like solar or hand crank. Include portable chargers for phones or radios. These devices keep you connected and informed during power outages or disasters.
Personal Hygiene Items
Personal hygiene items are vital in any survival kit. They help maintain cleanliness and reduce illness risks. Keeping your body clean protects against infections and boosts morale.
Choose compact, lightweight items that fit easily in your kit. Focus on essentials that serve multiple purposes. Ready yourself for various conditions with the right hygiene supplies.
Sanitation Supplies
- Toilet paper or biodegradable wipes
- Small pack of soap or body wash
- Feminine hygiene products
- Travel-sized toothbrush and toothpaste
- Dental floss
- Small towel or washcloth
- Disposable gloves
- Plastic bags for waste disposal
Insect Repellent And Sunscreen
- Insect repellent with DEET or natural alternatives
- After-bite cream or soothing lotion
- Sunscreen with at least SPF 30
- Lip balm with sun protection
- Portable spray bottles for easy application
Hand Sanitizers And Wipes
- Alcohol-based hand sanitizer (at least 60% alcohol)
- Antibacterial wipes for quick cleaning
- Travel packs of moist towelettes
- Compact containers for easy storage

Credit: www.youtube.com
Organizing And Maintaining Your Kit
Keeping your DIY survival kit organized and well-maintained ensures it is ready when needed. An orderly kit saves time and reduces stress during emergencies. Regular attention helps replace expired items and adapt the kit to changing needs.
Packing Tips For Accessibility
Place essential items where you can reach them quickly. Use clear bags or containers to see contents easily. Group similar tools together, like first aid supplies or fire-starting gear. Keep lightweight items on top for fast access. Label compartments to avoid searching in panic.
Regular Checks And Updates
Check your kit every three to six months. Look for expired food, medicines, and batteries. Replace damaged or missing items immediately. Update the kit for seasonal changes or new family needs. Keep a checklist to track inventory and expiration dates.
Customizing For Specific Needs
Adjust your kit based on personal or local risks. Add special items for babies, pets, or seniors. Include regional survival tools like water purifiers for rivers or extra warm clothing for cold areas. Tailor your kit to your lifestyle and environment to improve safety.

Credit: grimworkshop.com
Frequently Asked Questions
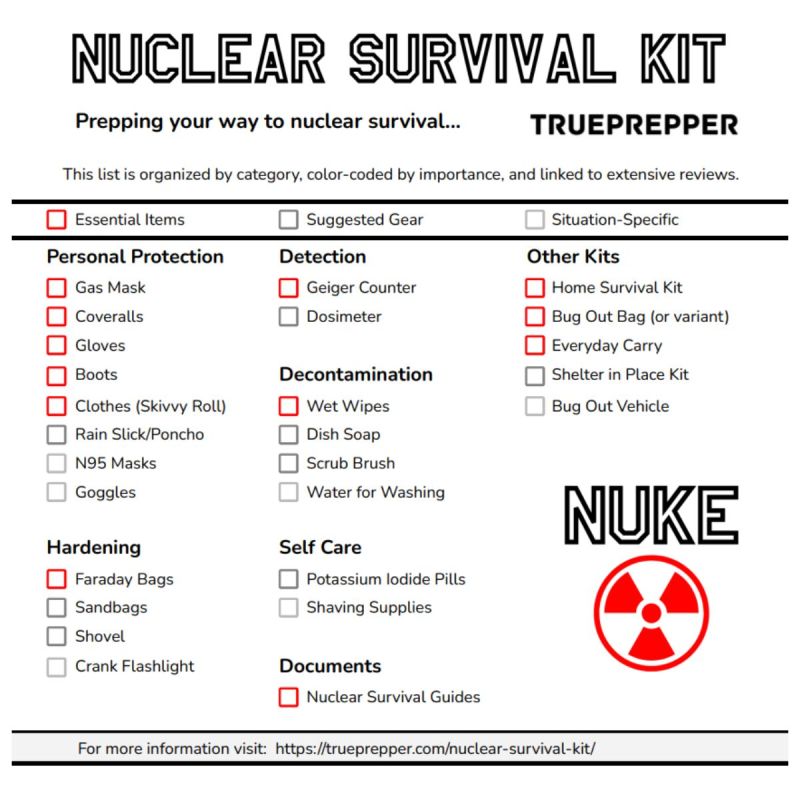
What Items Are Essential In A Diy Survival Kit?
Essential items include a first aid kit, a flashlight, matches, a multi-tool, and water purification tablets. These items ensure basic safety and survival in emergencies. Include a whistle and a thermal blanket for added security. Customize your kit based on your specific needs and environment.
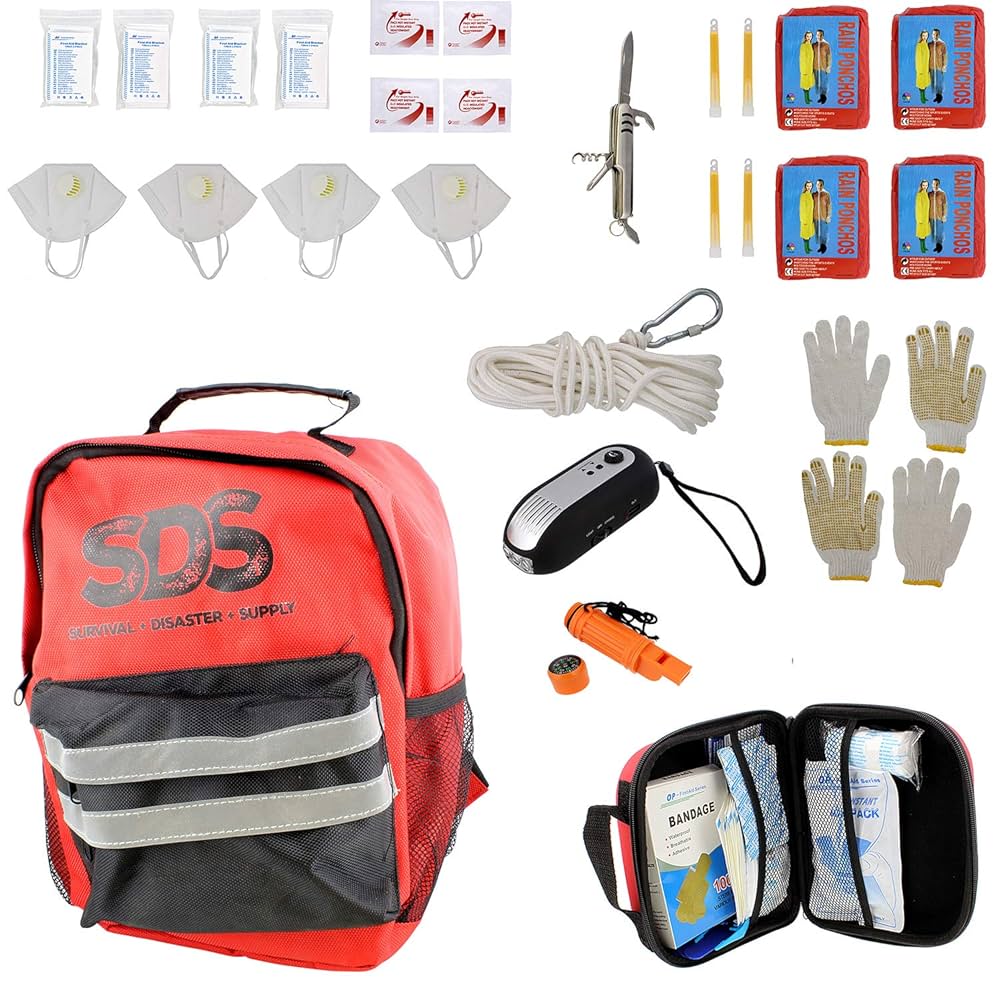
How Do I Choose The Right Container?
Choose a waterproof and durable container for your survival kit. A backpack or a hard plastic case is ideal. Ensure it is portable and has enough space for all essential items. Consider using compartments or bags to organize smaller items for easy access.
How Often Should I Update My Survival Kit?
Update your survival kit every six months to ensure items remain functional. Check expiration dates on food, water, and medical supplies. Replace batteries and test electronic items like flashlights. Customizing items based on seasonal changes and personal needs is also important.
Can I Make A Survival Kit For My Car?
Yes, having a car survival kit is essential for emergencies. Include jumper cables, a flashlight, a first aid kit, and non-perishable snacks. Add water, a thermal blanket, and a multi-tool. Keep it accessible and regularly check for expired items to ensure preparedness.
Conclusion
Making a DIY survival kit is smart and simple. You can choose items that suit your needs best. Keep your kit organized and ready to use. Regularly check and update its contents. Being prepared brings peace of mind. Small steps now can make a big difference later.
Start building your kit today and stay safe.