Imagine a sudden power outage or a natural disaster that cuts off your access to food. Would you be ready to feed yourself and your loved ones?
Building your own emergency food kit is one of the smartest steps you can take to stay safe and secure. In this guide, you’ll discover simple, practical ways to create a kit that fits your needs and keeps you prepared.
Keep reading, and you’ll learn how easy it is to protect your family with the right supplies—starting today.
Credit: practicalselfreliance.com
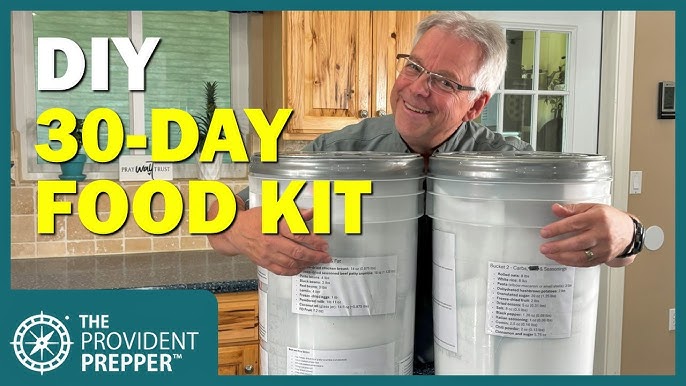
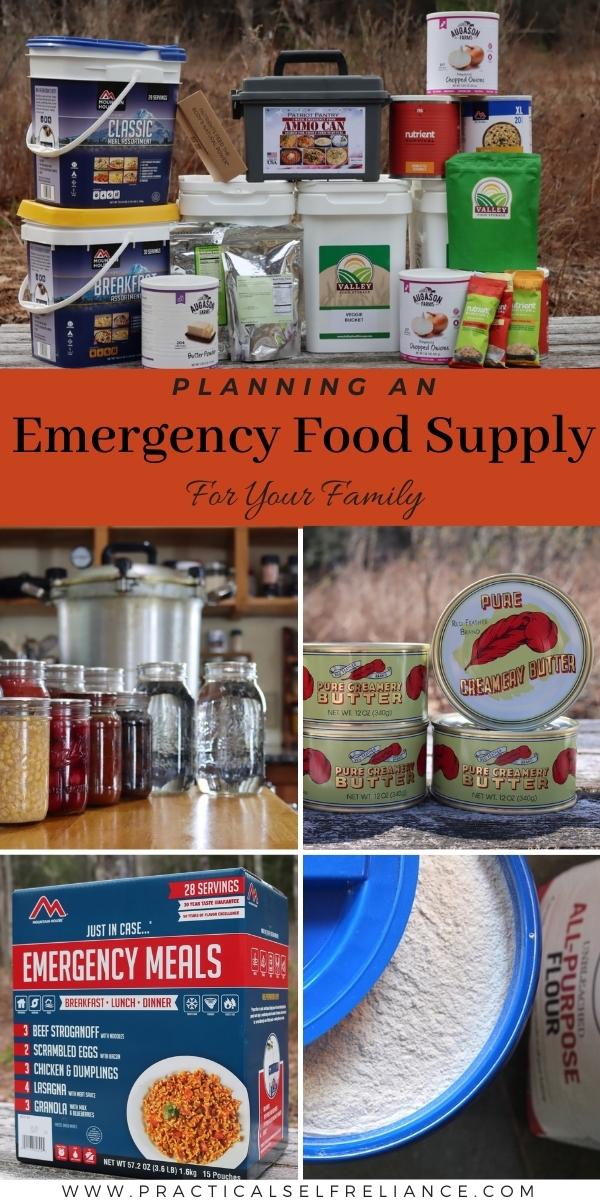
Choosing The Right Containers
Choosing the right containers is essential for building a reliable emergency food kit. Containers protect food from moisture, pests, and air, which can spoil it. They also make food easy to store and carry. Selecting containers that fit your needs helps keep food fresh and organized. This section explains the types of containers and how to store them properly.
Types Of Containers
- Plastic Buckets:Durable and lightweight. Often used with airtight lids to keep food safe.
- Glass Jars:Good for dry foods like rice and beans. They keep air out but can break if dropped.
- Mylar Bags:Flexible and block light well. Use with oxygen absorbers to extend shelf life.
- Metal Tins:Strong and reusable. Ideal for smaller portions or snacks.
- Vacuum-Sealed Bags:Remove air to preserve freshness. Best for freeze-dried foods.
Storage Tips
- Store containers in a cool, dark, and dry place to prevent spoilage.
- Keep containers off the floor to avoid moisture and pests.
- Label each container with content and expiration date for easy tracking.
- Check your food kit regularly and replace expired items promptly.
- Use airtight seals to protect food from air and insects.
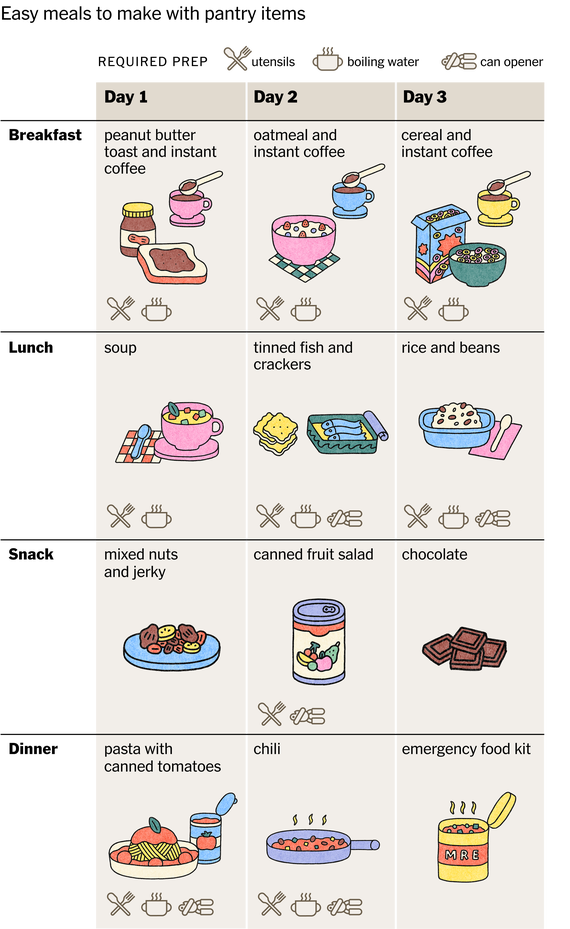
Selecting Essential Food Items
Choosing the right food items for an emergency kit is crucial. The food must last long without spoiling. It should provide enough energy and nutrition. It should also meet the needs of everyone in your group. Planning carefully helps you build a practical and useful food kit.
Non-perishable Foods
Non-perishable foods last for months or years without refrigeration. These foods keep well in sealed containers. They are essential for emergency kits because they stay safe to eat.
- Canned vegetables and fruits
- Dry pasta and rice
- Instant oatmeal and cereals
- Canned meats like tuna or chicken
- Nut butters and dried beans
- Powdered milk and drink mixes
Choose foods that you like and can eat easily. Check expiration dates regularly and replace items when needed.
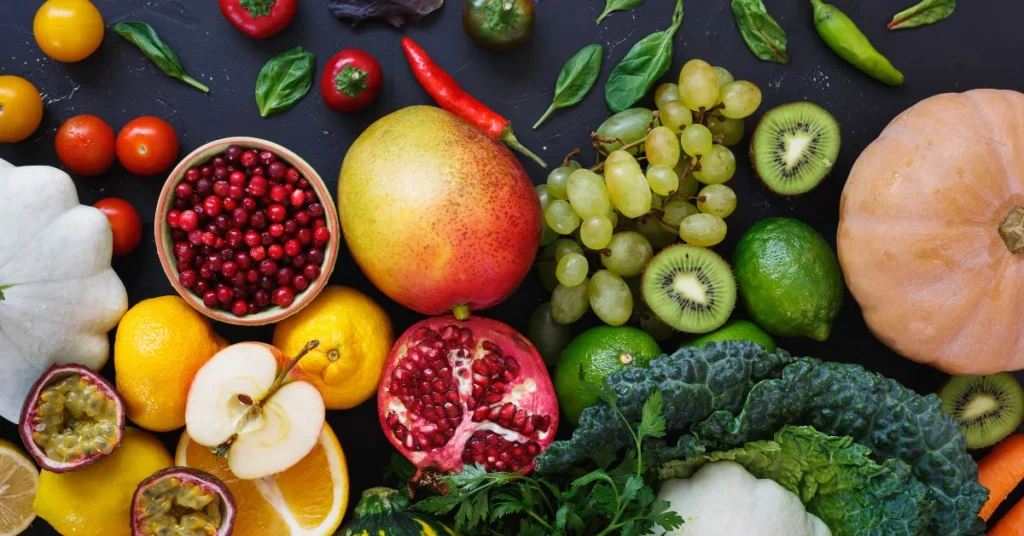
Nutritional Balance
A balanced diet keeps energy up and strengthens the body. Include foods rich in protein, carbohydrates, and fats.
| Nutrient | Food Examples | Purpose |
|---|---|---|
| Protein | Canned fish, beans, nuts | Builds and repairs tissues |
| Carbohydrates | Rice, pasta, cereals | Provides energy |
| Fats | Nut butters, oils | Supports brain and energy |
| Vitamins & Minerals | Canned fruits, vegetables | Supports immune system |
Drink enough water to stay hydrated. Include multivitamins for extra nutrition if possible.
Special Dietary Needs
Consider allergies and medical conditions of your group. Include gluten-free or low-sodium foods if needed. Prepare alternatives for children or elderly members.
- Gluten-free crackers or cereals
- Low-sugar or diabetic-friendly snacks
- Baby food and formula
- Soft foods for dental issues
- Allergy-safe protein bars
Label these items clearly and store them separately. This helps in quick access during emergencies.
Water And Hydration Solutions
Store clean water in strong, sealable containers for emergencies. Include water purification tablets or filters to ensure safe drinking water anytime. Hydration keeps you healthy and alert during tough situations.
When creating your emergency food kit, ensuring you have a reliable water and hydration solution is crucial. Water is essential not only for drinking but also for cooking and sanitation. Being prepared with the right water storage and purification methods can make all the difference in an emergency situation.Water Storage Options
Storing water is a critical part of your emergency preparedness. You might wonder, how much water should you store? The general guideline is one gallon per person per day, with a minimum of a three-day supply. – Bottled Water: Easily accessible and ready-to-use. Stock up on commercially bottled water for convenience. – Water Jugs: Use food-grade water storage containers. They come in various sizes, ideal for both small spaces and larger storage needs. – Collapsible Water Containers: Perfect for saving space. These can be filled when needed and stored compactly when not in use.Purification Methods
In emergencies, your stored water might run out. That’s where purification methods come in. How can you ensure the water you find is safe to drink? – Boiling: A tried-and-true method. Boil water for at least one minute to kill most pathogens. – Water Purification Tablets: Lightweight and portable. They are great for when you’re on the move and need to purify small quantities. – Water Filters: Consider a portable water filter. These can remove bacteria and parasites, making them invaluable for outdoor or emergency use. Having a plan for water storage and purification not only ensures your survival but also provides peace of mind. Are you ready to take the next step in your emergency preparedness journey?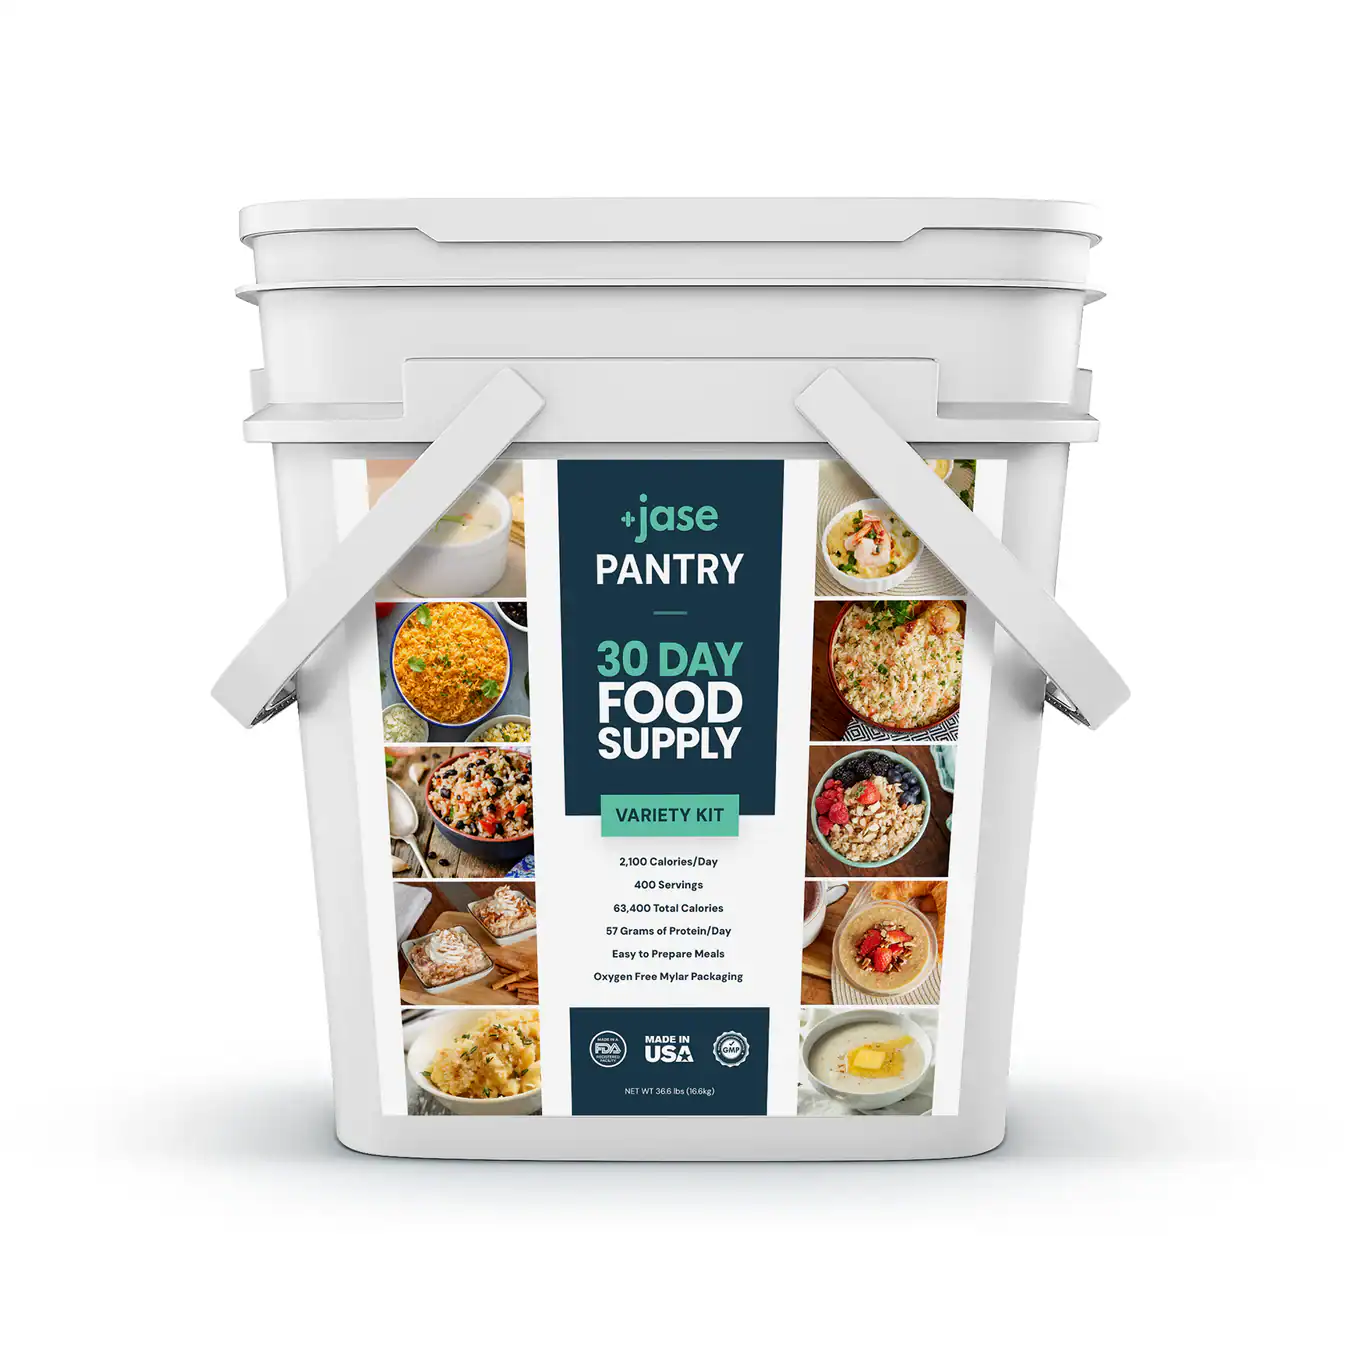
Credit: bushlife.ca
Packaging And Preservation Techniques
Packaging and preservation are key to keeping your emergency food kit fresh and safe. Proper techniques stop food spoilage and extend shelf life. They protect food from air, moisture, and pests.
Good packaging also makes your kit easy to store and carry. You can use simple tools and supplies to preserve food effectively.
Vacuum Sealing
Vacuum sealing removes air from bags before sealing them tight. Less air means slower food spoilage. It keeps food fresh for months or even years.
Use a vacuum sealer machine or hand pump. Vacuum-sealed bags save space and prevent freezer burn. They work well for dry goods, cooked meals, and snacks.
Using Oxygen Absorbers
Oxygen absorbers are small packets that absorb oxygen inside sealed bags or containers. They help stop oxidation and mold growth. This keeps food fresh longer.
Place oxygen absorbers with dry foods like rice, beans, or flour. Use airtight containers or Mylar bags for best results. Make sure the absorber size matches the package volume.
Proper Labeling
Label each food package with the name and packing date. This helps track freshness and plan food use. Use waterproof markers or labels that won’t fade.
- Write the food type clearly
- Include expiration or best-by date
- Note any special storage instructions
Proper labeling avoids confusion during emergencies and helps rotate your supplies regularly.
Incorporating Cooking And Eating Tools
Incorporating cooking and eating tools into your emergency food kit is essential for preparing meals easily. These tools help you cook safely and enjoy your food without hassle. Choosing the right gear ensures you stay nourished during any emergency.
Portable Cooking Gear
Portable cooking gear allows you to prepare hot meals anywhere. Look for compact and lightweight items that fit well in your kit. Small stoves, fuel canisters, and portable grills work best. Choose gear that is easy to use and clean after cooking.
- Compact camping stove
- Fuel canisters or solid fuel tablets
- Lightweight pots and pans
- Portable grill or griddle
- Windshield for stove protection
These tools make cooking efficient and safe even outdoors. Test your gear before an emergency to ensure it works properly.
Utensils And Accessories
Eating tools help you enjoy your meals comfortably. Pack durable utensils that can be reused or easily cleaned. Multi-use tools save space and add convenience.
- Reusable fork, spoon, and knife
- Collapsible cups and bowls
- Can opener for canned food
- Heat-resistant gloves or pot holders
- Small cutting board
Keep your utensils organized in a small pouch or container. This prevents loss and keeps everything ready for use.

Credit: backpackerspantry.com
Storage Location And Rotation
Storing your emergency food kit properly and keeping it fresh through regular rotation are crucial steps that ensure your supplies are safe and ready when you need them most. The right storage location protects your food from damage, spoilage, and pests, while an effective rotation schedule prevents waste and guarantees you always have edible items on hand.
Ideal Storage Conditions
Your emergency food kit should be kept in a cool, dry, and dark place. Heat and humidity cause food to spoil faster, so avoid areas like kitchens, garages, or basements prone to temperature swings or moisture.
A closet, pantry, or dedicated storage box in a climate-controlled room works well. Make sure the area is clean and free from pests like rodents or insects that can damage packaging.
Think about how easy it is for you to access the food in an emergency. You want it close enough to grab quickly but still protected from environmental factors.
Rotation Schedule
Food doesn’t last forever, even in ideal conditions. Set a rotation plan to use and replace your supplies before they expire. This keeps your kit fresh and prevents you from wasting valuable resources.
Label your food packages with the purchase date or expiration date. Check your kit every 6 months to identify items that need replacing. Use the oldest items first when you cook or snack, then add new purchases to the back or bottom.
Ask yourself: How often do you check your emergency supplies? Making rotation a habit can save you from unpleasant surprises when you need your kit most.
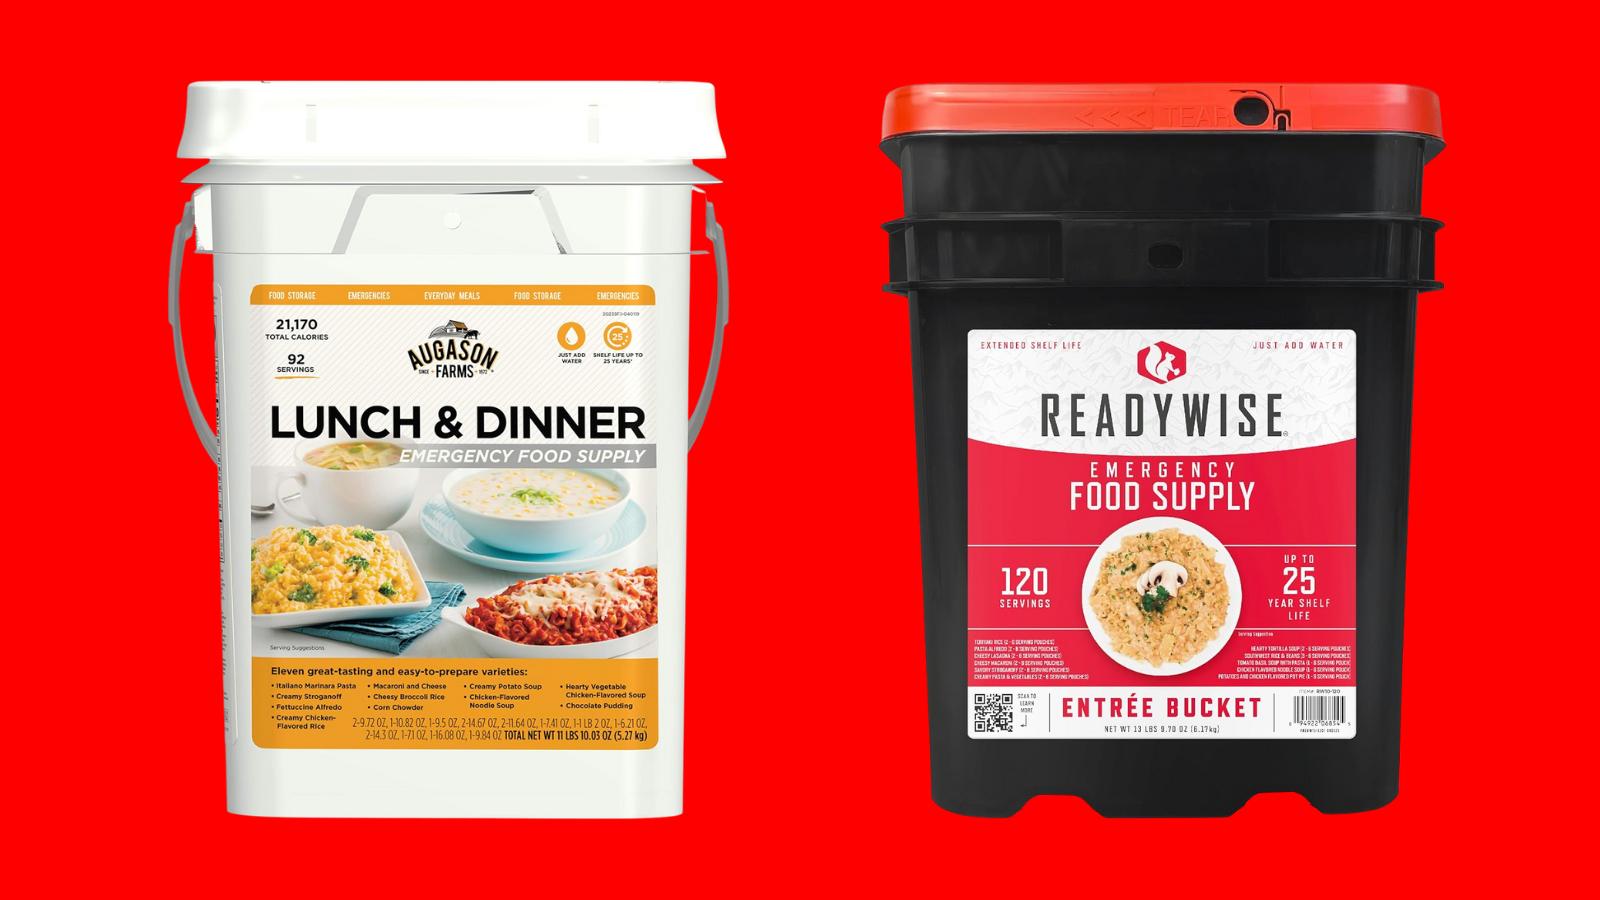
Including Important Extras
Building an emergency food kit is more than just packing meals and snacks. Including important extras can make a huge difference in comfort, health, and overall readiness during tough times. These extras often get overlooked but can be lifesavers when you need them the most.
First Aid Supplies
Adding first aid supplies to your emergency food kit is essential. Cuts, scrapes, or minor burns can happen anytime, and having bandages, antiseptic wipes, and pain relievers on hand keeps you prepared.
Think about what you might need for common injuries. Include:
- Adhesive bandages in various sizes
- Antibacterial ointment
- Gauze pads and medical tape
- Disposable gloves
- Pain relievers like ibuprofen or acetaminophen
- Scissors and tweezers
- A basic first aid manual or instruction booklet
Having these supplies means you can treat small injuries quickly, avoiding infections or worsening conditions. Ask yourself, what would you do if you had no access to a pharmacy for several days?
Comfort And Morale Boosters
Food alone won’t keep your spirits up during an emergency. Including items that boost morale can help you stay positive and focused.
Consider packing:
- Small games or puzzles to pass the time
- A favorite book or magazine
- Comfort snacks like chocolate or tea bags
- A notepad and pen for journaling or planning
- Photos or mementos that remind you of home
I remember during a power outage, having a simple deck of cards made a huge difference. It distracted me from the situation and kept my mind sharp. What small comforts could you add that might help you stay calm and hopeful?
Regular Kit Maintenance
Regular kit maintenance keeps your emergency food kit safe and useful. It avoids surprises during urgent situations. Small checks can save you from spoiled food or missing items. Set a schedule to review your kit every few months. This practice ensures your supplies stay fresh and reliable.
Checking Expiry Dates
Review expiry dates on all food packages carefully. Remove any expired or near-expiry items right away. Replace these with fresh products to maintain safety. Use a list or label to track dates easily. This habit prevents health risks from spoiled food. Always check cans, jars, and packaged goods.
Updating Contents
Update your kit based on your current needs and preferences. Swap out items you no longer use or like. Add new foods that have a longer shelf life. Consider dietary restrictions or allergies in your household. Include fresh water and necessary tools like can openers. Keep your kit balanced between nutrition and convenience.
Frequently Asked Questions
What Are The Essential Items For An Emergency Food Kit?
Essential items include non-perishable foods like canned beans, rice, nuts, and dried fruits. Include water, a manual can opener, and basic utensils. Choose foods with long shelf lives and high nutritional value to ensure survival during emergencies.
How Long Can Emergency Food Kits Last?
Most emergency food kits last between 1 to 5 years, depending on storage conditions. Properly sealed and stored kits in cool, dry places last longer. Always check expiration dates regularly and rotate supplies to maintain freshness.
How Much Food Should I Store Per Person?
Store at least a three-day supply of food per person as a minimum. Ideally, keep enough for two weeks for better preparedness. Calculate daily calorie needs and pack accordingly, considering dietary restrictions and preferences.
Can I Include Homemade Food In My Emergency Kit?
Yes, homemade dehydrated or freeze-dried foods are excellent for emergency kits. They are cost-effective and customizable to your taste. Ensure they are properly sealed and stored to prevent spoilage and contamination.
Conclusion
Creating your own emergency food kit takes some planning and care. Choose foods that last long and give good energy. Keep your kit in a cool, dry place. Check it often to replace expired items. This simple step keeps you ready for unexpected situations.
Being prepared gives peace of mind. Start building your kit today to stay safe tomorrow.