Imagine having a survival kit that not only keeps you safe but also satisfies your sweet tooth. What if you could create your own survival kit centered around chocolate—a treat that boosts your energy and lifts your mood when you need it most?
You’ll discover how to build a do-it-yourself survival kit with chocolate at its heart. You’ll learn simple steps to prepare for emergencies while enjoying a tasty comfort. Ready to make your survival kit both practical and delicious? Keep reading to find out how.
Choosing The Right Chocolate
Choosing the right chocolate for your DIY survival kit is essential. Chocolate can provide quick energy, comfort, and essential nutrients during tough times. Not all chocolates are equal. Some last longer and offer better nutrition. The right choice depends on type, shelf life, and health benefits. Understanding these factors helps you pack smarter and stay prepared.
Types Of Chocolate For Survival
- Dark Chocolate:Contains more cocoa and less sugar. It lasts longer and is rich in antioxidants.
- Milk Chocolate:Sweeter and creamier but has a shorter shelf life. It offers quick energy.
- White Chocolate:Made from cocoa butter, sugar, and milk. It melts easily and is less nutritious.
- Chocolate with Nuts or Fruits:Adds extra nutrients and energy. Choose varieties with low moisture content.
Shelf Life And Storage Considerations
Chocolate can last from several months to years if stored correctly. Keep it in a cool, dry place away from direct sunlight. Avoid heat and humidity to prevent melting or spoilage. Vacuum-sealed packaging or airtight containers can extend shelf life. Check expiration dates before packing. Proper storage keeps chocolate fresh and tasty during emergencies.
Nutritional Benefits
- Provides quick energy through sugars and fats.
- Dark chocolate contains antioxidants that support health.
- Contains minerals like iron, magnesium, and zinc.
- Improves mood and reduces stress in tough situations.
- Fats help maintain body warmth in cold conditions.
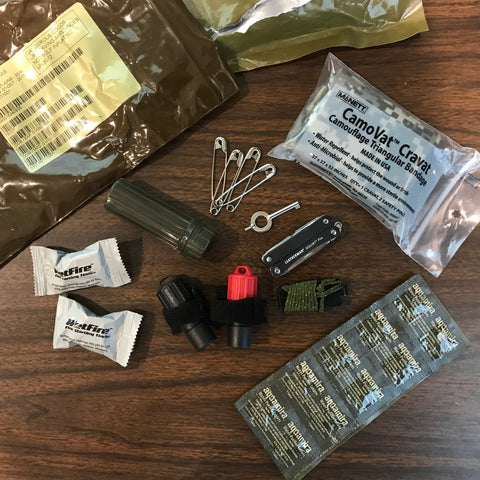
Credit: www.etsy.com
Essential Ingredients To Add
Choosing the right ingredients is key to making your DIY survival kit chocolate both delicious and functional. The ingredients should not only taste great but also provide lasting energy and essential nutrients. Think about what you need most in a survival situation and pick ingredients that can support those needs.
Nuts And Seeds
Nuts and seeds bring crunch and valuable nutrients to your survival chocolate. They are rich in healthy fats, protein, and fiber, which help keep your energy steady for longer periods.
Try adding almonds, walnuts, pumpkin seeds, or sunflower seeds. These options stay fresh for a long time and add a satisfying texture to your chocolate. Have you noticed how just a handful of nuts can keep you feeling full and focused?
Dried Fruits
Dried fruits add a natural sweetness and a chewy contrast to the chocolate. They also provide vitamins, minerals, and antioxidants that are important when you’re on the go.
Consider dried cranberries, apricots, or raisins. These fruits last well without refrigeration and can boost your mood with their natural sugars. What’s your favorite dried fruit to snack on when you need a quick pick-me-up?
Natural Sweeteners
Using natural sweeteners keeps your chocolate healthier and more satisfying. They provide sweetness without the crash that comes from refined sugars.
Honey, maple syrup, and coconut sugar are excellent choices. Each adds its unique flavor and nutrients, like antioxidants in honey or minerals in maple syrup. Have you ever tasted chocolate sweetened with something other than plain sugar? It can be a game changer.
Packaging For Durability
Packaging for durability is key to keeping your DIY survival kit chocolate fresh and ready to enjoy when you need it most. Chocolate is sensitive to moisture, heat, and physical damage, so choosing the right packaging protects your investment and ensures it lasts longer. Let’s look at practical ways to make your chocolate withstand tough conditions without losing its taste or texture.
Waterproof Wrapping
Water can ruin chocolate by causing it to develop a white, powdery surface called bloom. Wrapping your chocolate in waterproof materials like plastic wrap or vacuum-sealed bags keeps moisture out effectively.
Try combining layers—for instance, wrap the chocolate tightly in parchment paper first, then seal it in a zip-lock bag or vacuum bag. This double layer adds protection and helps maintain freshness longer.
Heat-resistant Containers
Heat is the biggest enemy of chocolate, causing it to melt or lose its shape. Use containers made of materials like metal tins or thick plastic that can tolerate temperature swings better than thin packaging.
Insulated containers or small coolers can keep your chocolate stable in warmer environments. Have you ever noticed how a simple tin box from a bakery keeps cookies fresh? It works similarly for chocolate—sturdy and protective.
Portability Tips
Carrying your survival kit chocolate means you need packaging that is both durable and easy to handle. Avoid bulky containers that take up too much space or weigh down your pack.
- Choose compact containers that fit snugly in your bag.
- Use cushioned packaging like foam or bubble wrap to prevent breakage during movement.
- Label your packages clearly so you can find your chocolate quickly without opening everything.
Think about how often you’ll be on the move. Would a small, sealed tube or bar holder suit your style better than a box? The right choice keeps your chocolate safe and ready for a quick energy boost anytime.

Credit: www.purdys.com
Making Survival Chocolate At Home
Making survival chocolate at home is a simple and rewarding project. It allows you to prepare a tasty, energy-packed treat for emergencies. You control the ingredients and flavors. You ensure the chocolate lasts long and stays fresh. This section covers basic recipes, ways to customize flavors, and preservation techniques.
Basic Recipes
Start with simple ingredients: cocoa powder, coconut oil, and honey or sugar. Melt the coconut oil gently. Mix in cocoa powder and sweetener until smooth. Pour the mixture into molds or a lined tray. Let it cool in the fridge until solid.
- Use 1/2 cup coconut oil
- Mix 1/4 cup cocoa powder
- Add 2-3 tablespoons honey or sugar
- Optional pinch of salt for balance
This recipe creates a firm chocolate bar with good energy content.
Customizing Flavors
Change flavors by adding natural ingredients. Try vanilla extract for sweetness. Add nuts like almonds or walnuts for crunch and nutrition. Mix in dried fruits such as raisins or cranberries for texture and taste. Spices like cinnamon or chili powder add warmth and depth.
- 1 teaspoon vanilla extract
- 1/4 cup chopped nuts
- 2 tablespoons dried fruit
- 1/2 teaspoon cinnamon or chili powder
Test small batches to find your favorite combinations.
Preservation Techniques
Store survival chocolate in an airtight container. Keep it in a cool, dry place to avoid melting. Use parchment paper between layers to prevent sticking. For longer storage, refrigerate or freeze the bars. Wrap bars tightly in plastic wrap before freezing. This keeps flavors fresh and texture intact.
- Airtight containers stop moisture
- Cool storage prevents melting
- Freezing extends shelf life by months
- Separate layers with parchment paper
Using Survival Chocolate Effectively
Using survival chocolate effectively can make a big difference during emergencies. This special chocolate provides quick energy and comfort. Knowing how to use it wisely helps you stay strong and focused.
Keep in mind that survival chocolate is dense and high in calories. It offers fast energy but needs smart handling to last through tough times. Plan your intake carefully and combine it with other foods for balanced nutrition.
Energy Boosting Strategies
Survival chocolate works best as a quick energy source. Eat small amounts to boost alertness and stamina. Use it before physical tasks or when you feel tired. The sugar and fat content provide fast fuel for your body and brain.
- Consume chocolate right before exertion for a sharp energy lift.
- Use it during cold weather to help maintain body heat.
- Keep pieces handy for moments of low blood sugar or fatigue.
Portion Control In Emergencies
Ration your survival chocolate to make it last longer. Avoid eating large amounts at once. Break it into small pieces and eat slowly. This helps you avoid energy crashes and stretches your supply.
- Divide chocolate into daily portions before any emergency.
- Set a fixed schedule to prevent overeating in stress.
- Store portions separately to keep track of consumption.
Combining With Other Survival Foods
Pair survival chocolate with protein and fiber-rich foods. This balance supports longer energy release and better nutrition. Mixing chocolate with nuts, dried fruits, or jerky improves overall meal quality.
| Food Type | Benefit | Example |
|---|---|---|
| Protein | Builds strength and muscle | Jerky, nuts |
| Fiber | Supports digestion and fullness | Dried fruits, seeds |
| Fat | Provides sustained energy | Peanut butter, nuts |
Common Mistakes To Avoid
Building your own survival kit chocolate can be a fun and rewarding project. However, there are some common mistakes that can ruin your efforts and spoil your treats. Avoiding these pitfalls will help you create a kit that lasts and truly supports you in tough times.
Incorrect Storage
Chocolate is sensitive to temperature and humidity. Storing your survival kit chocolate in a warm place can cause it to melt or develop a white film called bloom, which affects taste and texture.
Keep your kit in a cool, dry area, ideally below 70°F (21°C). Avoid places like near heaters, windows, or in direct sunlight.
Overloading Ingredients
It’s tempting to add every possible ingredient for variety. But too many mix-ins can overwhelm the chocolate and cause it to break or lose its shape.
Stick to a balanced list of ingredients that complement each other. Consider how each addition affects shelf life and portability. Would you want a survival chocolate that crumbles before you can eat it?
Ignoring Allergies
Allergies can turn a survival treat into a dangerous hazard. Not checking ingredients carefully might put you or others at risk.
Always label your kit clearly with any allergens like nuts, dairy, or gluten. Double-check ingredient lists and think about who might share or find your kit in an emergency.

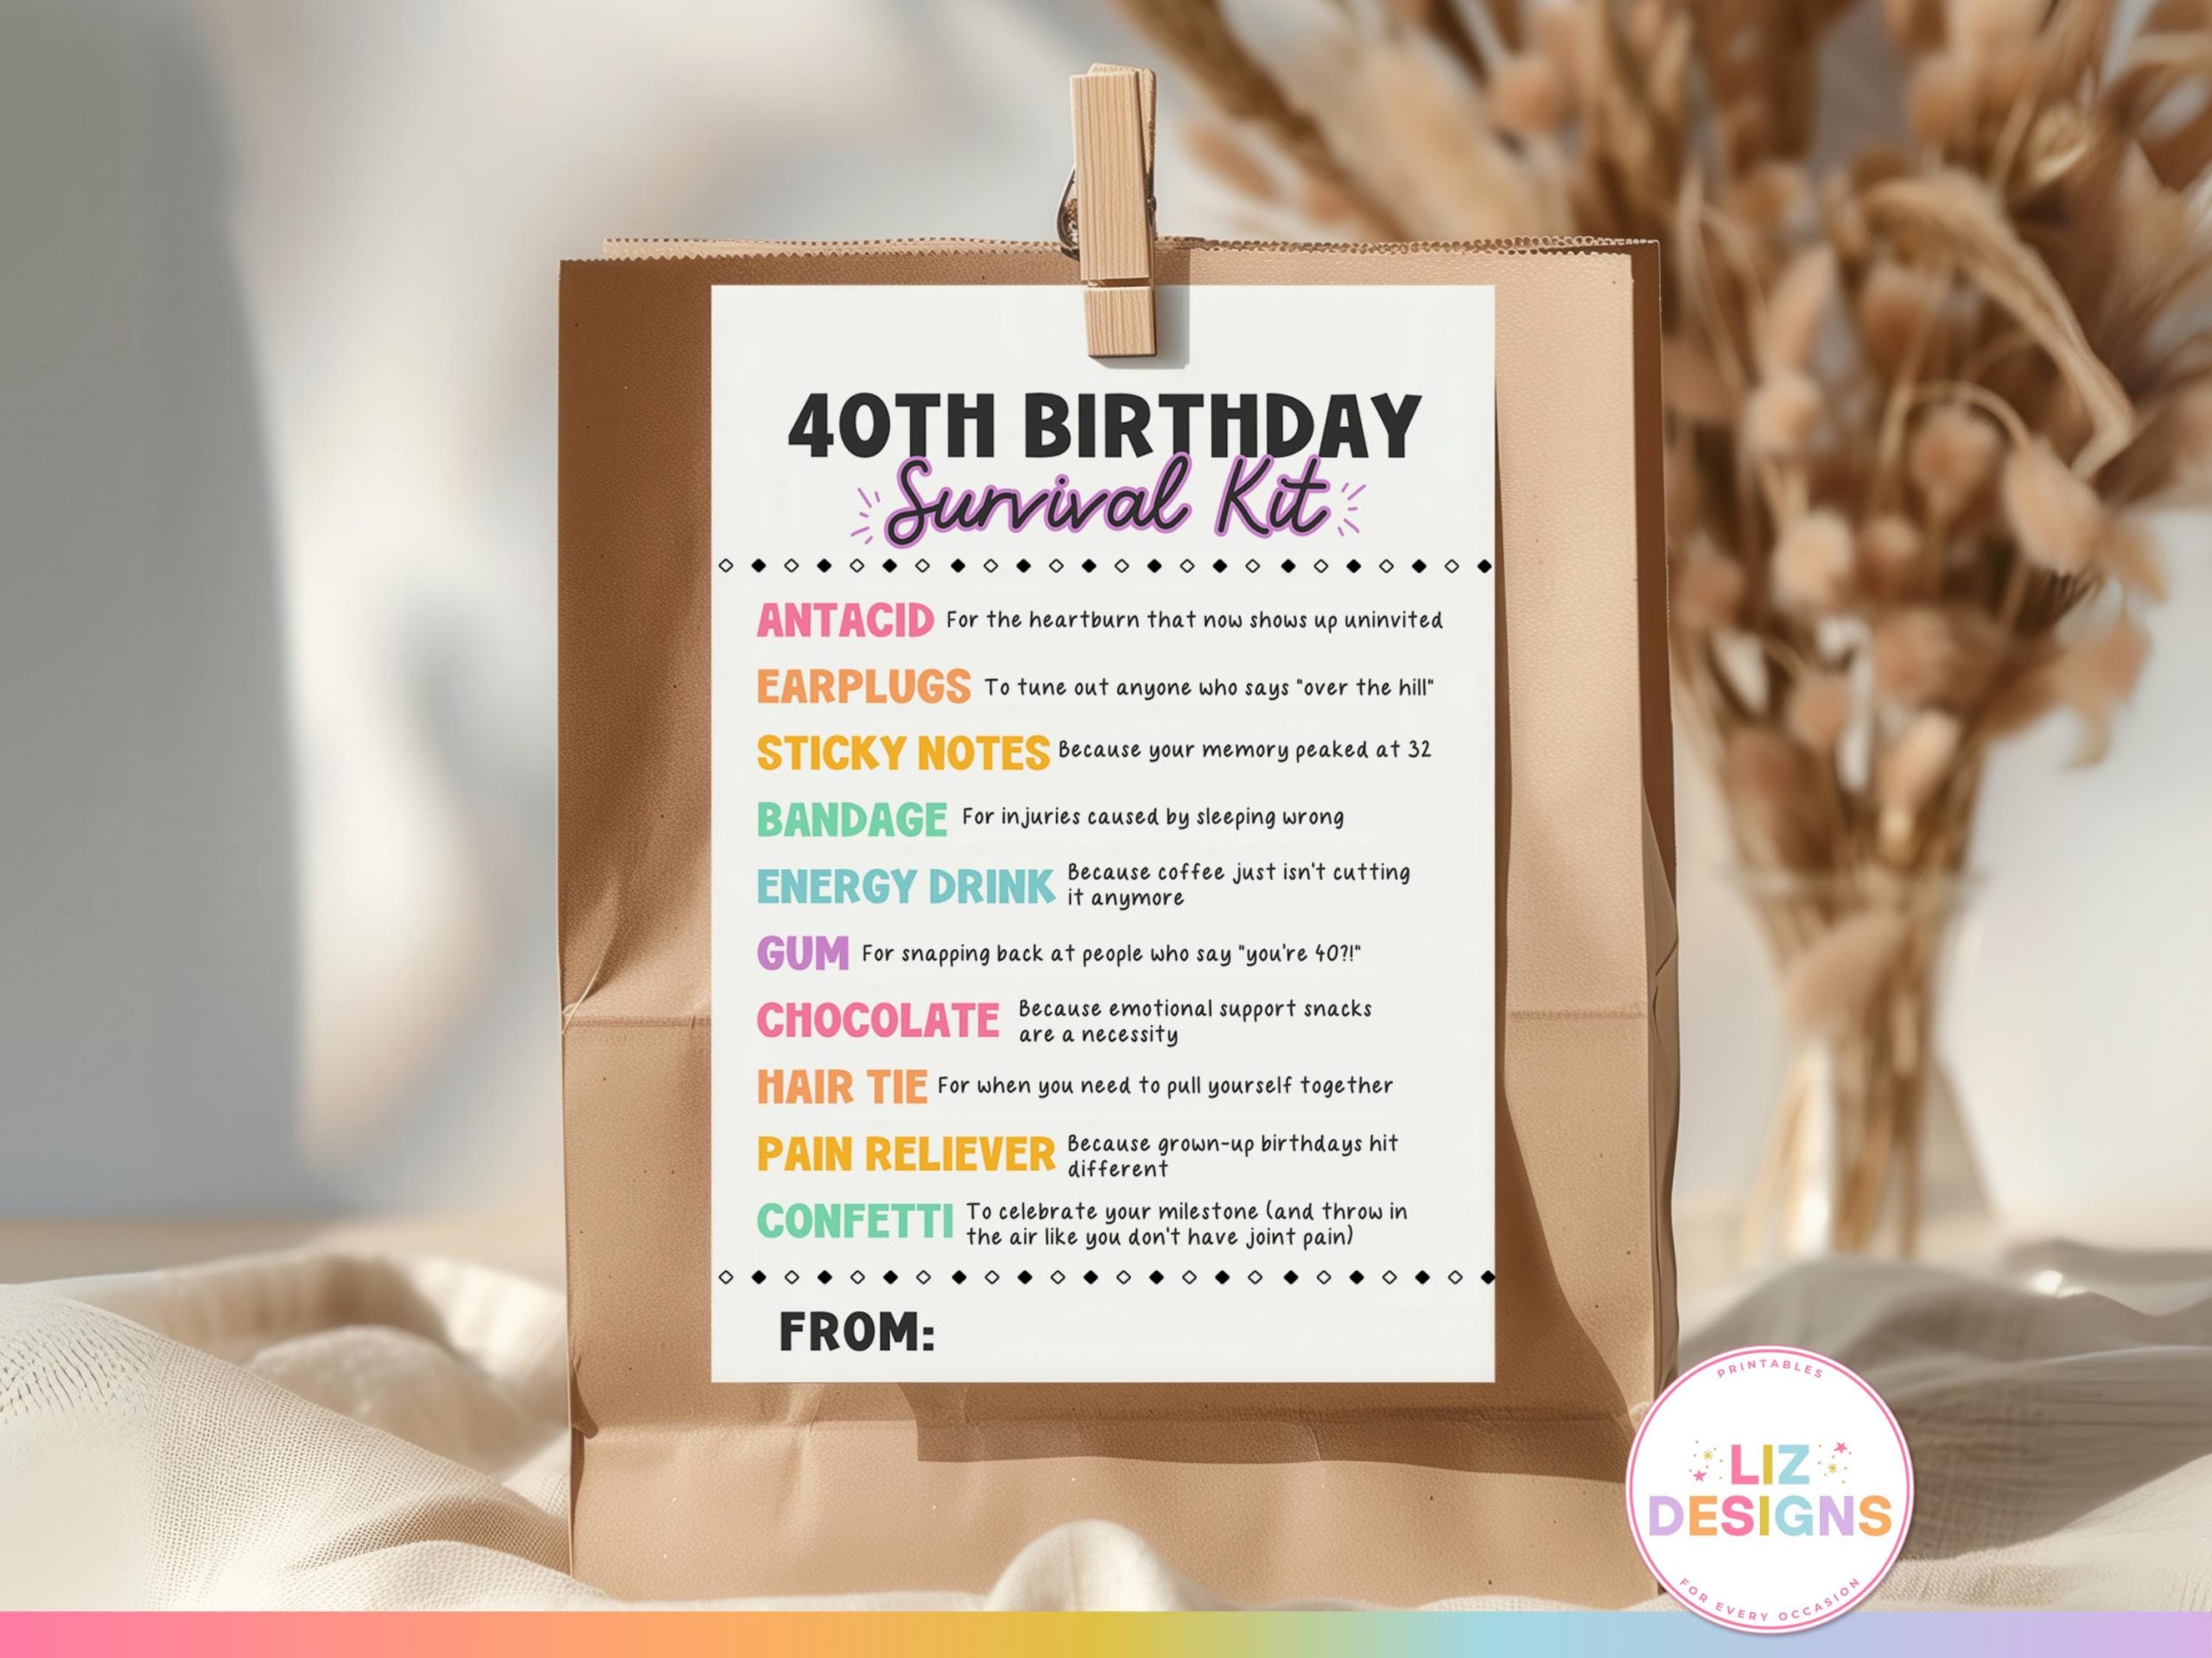
Credit: www.youtube.com
Frequently Asked Questions
What Is A Diy Survival Kit Chocolate?
DIY survival kit chocolate is a homemade energy bar. It combines chocolate with nuts, seeds, and dried fruits. It provides quick calories and nutrients during emergencies or outdoor activities.
How To Make Survival Kit Chocolate At Home?
Mix melted chocolate with nuts, seeds, and dried fruits. Pour into molds and let it set. Store in airtight containers for long shelf life.
Why Include Chocolate In A Survival Kit?
Chocolate offers high energy and mood-boosting effects. It has a long shelf life and is compact. Perfect for quick energy during survival situations.
What Ingredients Are Best For Survival Kit Chocolate?
Use dark chocolate, almonds, walnuts, chia seeds, and dried berries. These ingredients provide healthy fats, proteins, and antioxidants. They enhance nutrition and taste.
Conclusion
Creating your own survival kit chocolate is simple and fun. It gives you energy and comfort in tough times. You can choose your favorite ingredients and keep it fresh. This small treat fits well in any emergency bag. Try making one today and stay prepared.
A tasty way to stay safe.