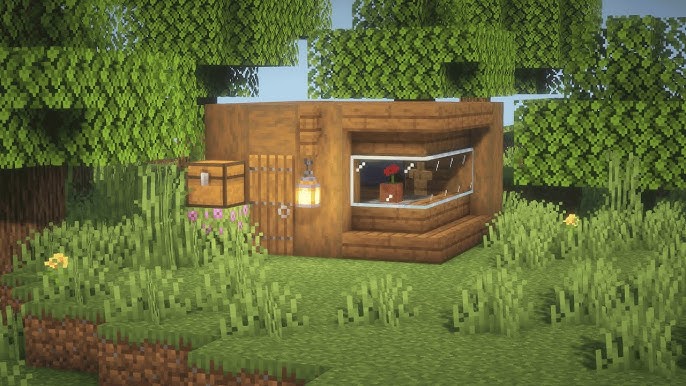
Are you ready to take your Minecraft PE game to the next level? Building a strong survival shelter is one of the most important skills you need to master.
Your shelter will keep you safe from mobs, protect your resources, and give you a base to plan your next moves. In this guide, you’ll learn simple, step-by-step tips to create a shelter that works perfectly for survival mode. Whether you’re just starting out or want to improve your skills, this article will help you build a home that keeps you secure and ready for anything.
Keep reading to discover how easy it is to make a shelter that will boost your chances of survival in Minecraft PE!
Choosing Shelter Location
Choosing the right location for your survival shelter in Minecraft PE can make a huge difference in how quickly you thrive. Your shelter isn’t just a safe spot—it’s your base for exploring, gathering, and defending against threats. Think carefully about where you set up, because a smart location sets you up for success.
Safe Zones And Biomes
Not all biomes offer the same level of safety. Some, like plains and forests, provide open visibility so you can spot mobs early. Others, such as deserts or swamps, may hide dangers in tall grass or uneven terrain.
Look for biomes with natural barriers like hills or water. These can reduce the directions from which mobs approach. Have you noticed how a hilltop shelter gives you a better vantage point? Use that to your advantage.
Proximity To Resources
Building close to essential resources saves time and effort. You want easy access to wood, stone, and food sources without traveling far. Setting up near a river or forest puts you close to water and trees, both crucial early on.
Consider how often you’ll need to make trips for materials. A spot near caves can speed up mining but might increase danger. Balancing resource access with safety is key to thriving.
Avoiding Hostile Mobs
Hostile mobs spawn in dark or cramped areas, so avoid dense forests or caves right next to your shelter. Lighting your area well and keeping a clear perimeter helps keep threats at bay.
Building your shelter slightly elevated or on flat land reduces mob spawns nearby. Have you ever woken up in Minecraft surrounded by zombies? Choosing a spot that naturally limits mob spawns can save you that stress.

Credit: www.youtube.com
Gathering Essential Materials
Gathering the right materials is your first challenge when building a survival shelter in Minecraft PE. Without a solid stock of essentials, your shelter won’t stand strong against mobs or weather. Focusing on key resources early on sets you up for success and keeps your gameplay smooth.
Wood And Stone Basics
Wood is the backbone of your shelter. Start by punching trees to collect logs, which you can turn into planks for walls and floors. Don’t forget to gather some sticks—they’re crucial for crafting tools and torches.
Stone offers durability that wood can’t match. After grabbing some wooden tools, find a nearby stone outcrop or dig down a few blocks to mine cobblestone. This material lets you build stronger tools and reinforces your shelter against threats.
Crafting Tools
Your survival depends on having the right tools at hand. Use a crafting table to make basic wooden tools first—an axe, pickaxe, and shovel will speed up your resource collection. Upgrading these to stone tools as soon as possible will boost your efficiency.
Think about what tools you’ll need most. For example, an axe helps you gather wood quickly, while a pickaxe is essential for mining stone and ores. Having these tools early can save you precious time and keep you safe.
Collecting Food And Water
Building a shelter is pointless if you don’t have food and water to survive. Hunt animals like pigs, cows, or chickens for meat, or gather fruits such as apples and berries. Farming seeds is another way to ensure a steady food supply.
Water sources are common in Minecraft PE, but storing water inside your shelter can come in handy. A bucket lets you collect and carry water, which can be used for farming or emergency situations. Have you considered where your next meal will come from once the sun sets?
Basic Shelter Designs
Building a simple shelter in Minecraft PE protects you from monsters and weather. Use basic materials like wood or dirt to create a small, safe space quickly. Focus on easy-to-make designs that keep you secure during your first night.
Building a survival shelter in Minecraft PE can be both an exciting and strategic challenge. Whether you’re a newbie or a seasoned player, having a basic understanding of shelter designs is essential to surviving those first few nights when resources are scarce, and danger lurks around every block. Let’s explore three straightforward yet effective designs that can provide you with safety and a sense of accomplishment.Simple Dirt Hut
The Simple Dirt Hut is perfect for when you’re just starting out or running low on resources. It’s easy to construct and offers quick protection from night-time mobs. Gather dirt blocks from the surrounding area and create a small enclosed space. – Steps to Build: – Dig out a small area for your floor. – Stack dirt blocks around to form walls at least three blocks high. – Leave a space for a door and place it for easy entry and exit. – Cover the top with more dirt to complete your makeshift roof. While it might not win any beauty contests, the Simple Dirt Hut provides essential shelter quickly. Have you ever considered how effective something so basic can be in a pinch?Wooden Cabin
The Wooden Cabin offers more durability and style than a dirt hut. It’s a great choice once you’ve gathered sufficient wood. Start by chopping down trees to collect logs and planks. – Steps to Build: – Lay a foundation using wooden planks. – Build walls with logs or planks, leaving gaps for windows to keep an eye on your surroundings. – Add a door and consider crafting glass panes for windows. – Construct a sloped roof using stairs for a rustic look. A Wooden Cabin not only provides safety but also gives you a cozy home feeling. Imagine the satisfaction of looking out through your window as the sun sets, knowing you’re secure inside your handcrafted cabin.Underground Bunker
For those seeking stealth and protection, an Underground Bunker is a fantastic option. Digging into the ground not only hides your shelter but also offers natural protection from mobs. – Steps to Build: – Find a suitable spot and start digging downwards, creating a staircase into the earth. – Carve out a spacious room at the bottom, considering multiple chambers for storage and crafting. – Reinforce the entrance with a door or trapdoor for added security. – Use torches to light up your bunker and prevent hostile mobs from spawning. Have you ever thought about how going underground can change your gameplay? An Underground Bunker can be a tactical advantage, especially during PvP scenarios or when hiding from a creeper explosion. In the world of Minecraft PE, your shelter is your sanctuary. Which design will you build next time you start a new world?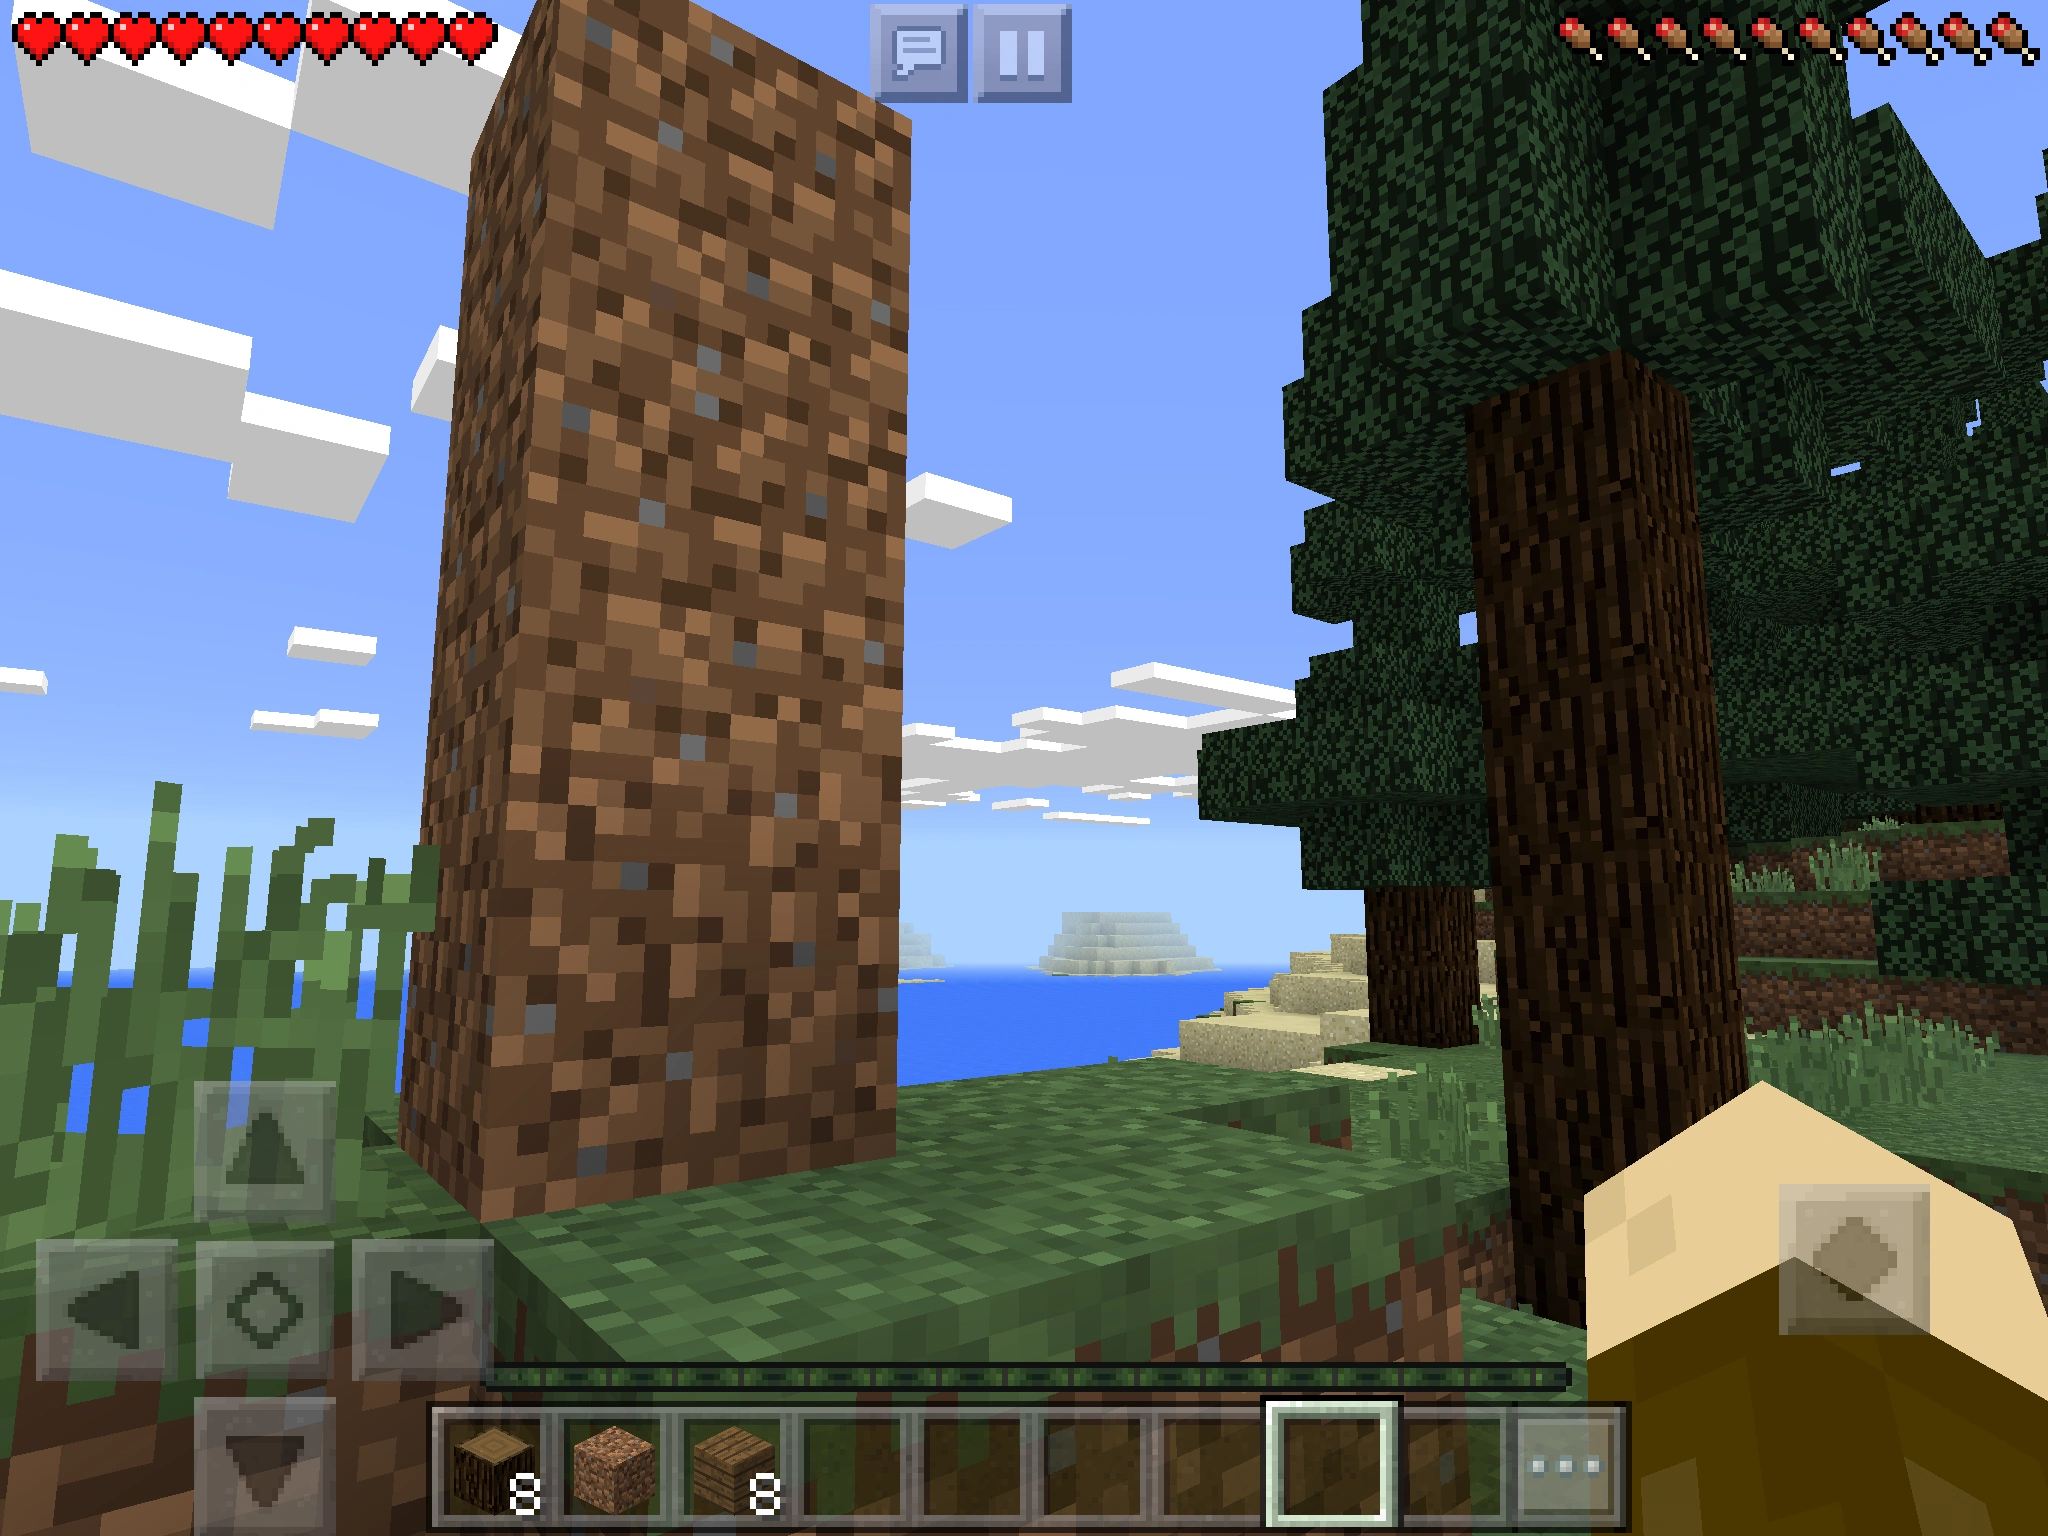
Credit: minecraftbedrock-archive.fandom.com
Advanced Shelter Features
Adding advanced features to your Minecraft PE shelter not only makes it more functional but also enhances your survival chances. These upgrades go beyond just having a roof over your head—they help you manage resources better, protect your space, and keep the environment safe. Let’s dive into some practical additions that can transform your basic shelter into a stronghold.
Lighting And Torches
Lighting is crucial to prevent hostile mobs from spawning inside and around your shelter. Place torches strategically in corners and along pathways to create a safe zone. Remember, mobs spawn in darkness, so keeping your shelter well-lit reduces unwanted encounters.
Consider using different light sources like lanterns or glowstone for variety and better visibility. You can even design light patterns on walls or floors to make your shelter feel more inviting and easier to navigate at night.
Storage Solutions
Efficient storage keeps your inventory organized and saves you time when searching for items. Use chests, barrels, and shulker boxes to store materials, food, and tools separately.
- Label chests with signs to quickly identify contents.
- Create a dedicated storage room for easy access.
- Arrange items by categories, such as building blocks, weapons, or farming supplies.
Think about building a compact storage system that fits your shelter’s size. This way, you avoid clutter and can focus on gathering and crafting without frustration.
Defensive Walls And Traps
Protecting your shelter from mobs and other players is vital, especially in multiplayer mode. Building walls around your shelter creates a first line of defense and keeps threats at bay.
Enhance your defenses with traps like lava pits, tripwire hooks, or dispensers loaded with arrows. These traps can surprise attackers and give you extra time to react.
Have you tried combining natural terrain with your defenses? Using cliffs, water, or dense forests as barriers can make your shelter even harder to breach. How will you design your protective perimeter?
Building Tips And Tricks
Building a survival shelter in Minecraft PE is all about smart decisions and quick actions. You want a safe space fast, but also one that grows with your needs. Knowing how to use resources wisely, build quickly, and expand later can make your game much smoother and more enjoyable.
Efficient Resource Use
Start by choosing materials that are easy to gather and durable. Wood is common but flammable, so mixing in stone or dirt can improve safety without slowing you down.
Save valuable blocks like iron and glass for essential features such as doors and windows. Think about what you really need versus what looks nice—prioritize function over flair early on.
Do you really need a fancy roof right away, or would a simple flat top protect you just as well? Use your limited resources where they matter most to avoid wasting time and effort.
Building Quickly
Speed is crucial, especially if night is approaching. Use a rectangular or square shape to keep things simple. Complex designs take more time and can leave you exposed.
Focus on walls and a roof first, then add windows and doors once you’re safe. Keep tools ready so you don’t waste seconds switching between items.
Have you tried building with a crafting table and furnace nearby? Setting these up inside your shelter early lets you craft and cook without stepping outside, saving precious time.
Expanding Your Shelter
Once you’re safe, think about growing your shelter to fit your goals. Adding rooms for storage, farming, or crafting keeps everything organized and close at hand.
Use a modular approach—build one room at a time and connect them with simple corridors. This keeps expansions manageable and prevents your shelter from becoming a confusing maze.
Consider building vertically if space is tight. Adding a second floor can give you more room without using extra land.
What new features does your shelter need next? Planning expansions with purpose saves you from rebuilding later.

Credit: www.youtube.com
Survival Strategies Inside Shelter
Survival inside your Minecraft shelter isn’t just about staying safe from mobs—it’s about managing your resources and preparing smartly for what’s ahead. How you handle hunger, health, and crafting will determine how long you thrive. Let’s look at the key strategies to keep your shelter effective and your gameplay smooth.
Managing Hunger And Health
Keep an eye on your hunger bar; it directly affects your health regeneration. Eating cooked food like steak or pork chops restores more hunger points and saturation than raw food. Always store a good supply of food inside your shelter to avoid risky trips outside at night.
When your health is low, avoid unnecessary fights. Use regeneration potions or golden apples if you have them to recover quickly. Setting up a small farm inside or near your shelter helps ensure steady food supply without leaving your safe zone.
Crafting Essential Items
Your shelter should have a crafting table, furnace, and chest as basics. These let you create tools, cook food, and store items efficiently. Prioritize crafting weapons like a sword or bow, and tools like a pickaxe and axe to gather resources faster.
Don’t forget to craft torches; they light up your shelter and prevent hostile mobs from spawning inside. If you can, make a bed early on—it lets you skip the night and reset your spawn point inside your shelter.
Preparing For Nighttime
Nighttime brings danger, so make your shelter a fortress. Block all entrances with doors or trapdoors and place torches around and inside your shelter to keep monsters away. Consider digging a small trench or fence around your shelter as an extra barrier.
Have weapons ready and keep your food and health topped off before night falls. If you hear zombies or skeletons nearby, stay inside and avoid confrontation until daylight. How do you prepare your shelter to stay safe while the world outside turns hostile?
Frequently Asked Questions
How Do I Start Building A Survival Shelter In Minecraft Pe?
Begin by gathering wood and basic materials quickly. Choose a safe location near resources. Build simple walls and a roof to protect from mobs and weather.
What Materials Are Best For A Minecraft Pe Survival Shelter?
Wood and dirt are easy to gather and build with early on. Cobblestone is stronger and better for defense. Use glass for windows to see outside safely.
How Can I Make My Survival Shelter Safe From Mobs?
Light the area around your shelter with torches. Build walls at least two blocks high. Use doors and fences to keep hostile mobs out.
What’s The Ideal Size For A Minecraft Pe Survival Shelter?
Start with a small 5×5 or 6×6 block base. This size is easy to build and expand later. It provides enough space for essentials like crafting and storage.
Conclusion
Building a survival shelter in Minecraft PE keeps you safe and ready. Choose a good spot with easy resources nearby. Use simple materials like wood or dirt to start quickly. Add doors and light to keep monsters out. Keep improving your shelter as you find better blocks.
A strong shelter helps you explore and survive longer. Practice these steps, and you will feel more confident in the game. Stay safe, build smart, and enjoy your Minecraft adventure!