Imagine facing an emergency with no supplies at hand. How would you stay safe, hydrated, and calm?
Building your own emergency survival kit is the best way to prepare for the unexpected. This guide will show you exactly what you need and how to put it together quickly and easily. By taking control of your safety now, you can protect yourself and your loved ones when it matters most.
Keep reading to learn the simple steps that could make all the difference in a crisis.
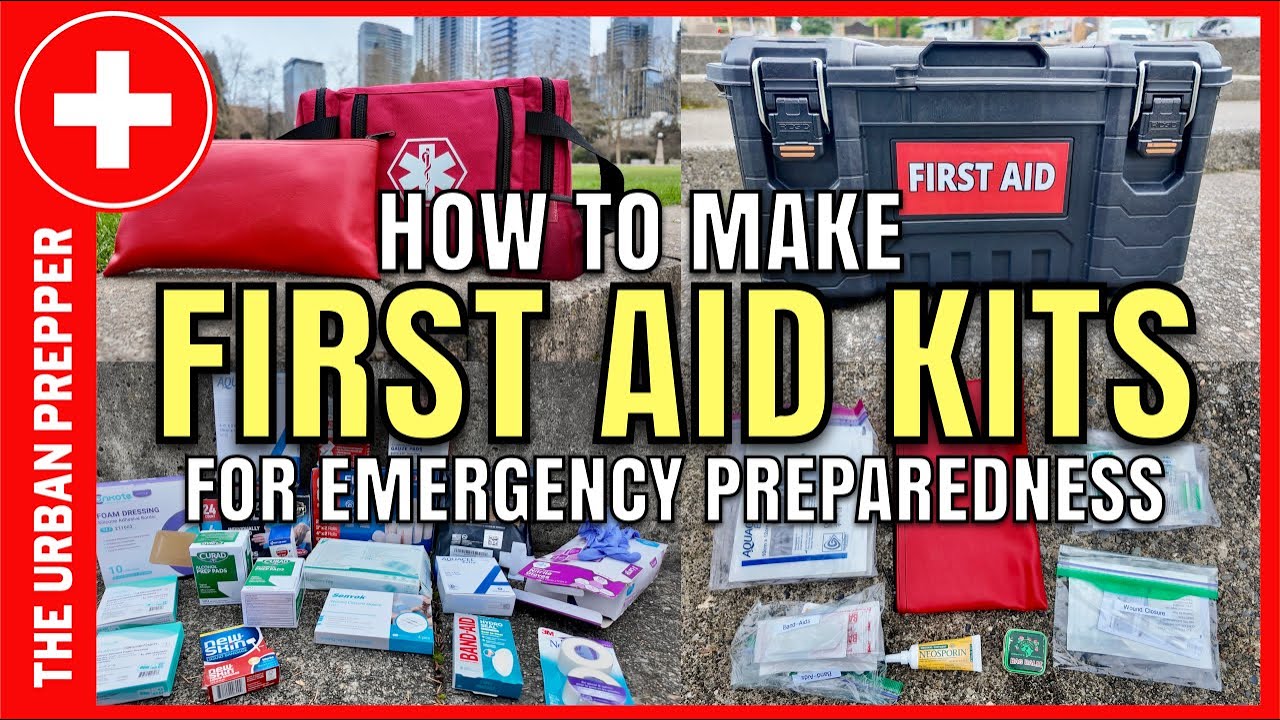
Credit: www.youtube.com
Choosing The Right Container
Choosing the right container for your emergency survival kit is more important than many people realize. It’s not just about finding a box to hold your supplies; the container affects how easily you can carry your kit, how well it protects your items, and even how quickly you can access essentials when time is critical.
I once grabbed a flimsy bag for my kit, only to have it tear during a quick evacuation drill. That experience taught me to prioritize strength and convenience over just size or price. What kind of container will keep your gear safe and ready when you need it most?
Durability And Portability
Your container must withstand rough handling, drops, and outdoor conditions. Look for materials like hard plastic, metal, or heavy-duty nylon that resist cracking and tearing.
Portability is just as crucial. Can you comfortably carry the container for long distances? Think about handles, straps, or even backpack-style designs to keep your hands free.
- Hard plastic boxes offer solid protection but can be bulky.
- Metal tins are tough but might add extra weight.
- Soft-sided bags with reinforced stitching provide flexibility and lighter weight.
Waterproof And Seal Options
Water damage can ruin your emergency supplies faster than anything else. Choose a container with waterproof qualities or one that can be sealed tightly to keep moisture out.
Look for containers featuring rubber gaskets, locking latches, or zippered closures with waterproof linings. Even simple plastic bags inside your main container can add an extra layer of protection.
Ask yourself: Will this container keep rain, snow, or accidental spills from soaking my gear? If you’re storing important documents or electronics, the answer must be a confident yes.
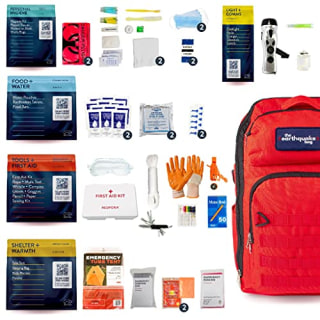
Essential Survival Items
Building an emergency survival kit means choosing the right items to keep safe. These essential survival items help you stay alive and comfortable in tough situations. Focus on food, water, first aid, and useful tools.
Food And Water Supplies
Food and water are the top priorities in any survival kit. Pack non-perishable foods that last long and need no cooking. Think about energy bars, dried fruits, and canned goods.
- Ready-to-eat meals or MREs
- Water bottles or hydration bladders
- Water purification tablets or filters
- Electrolyte powders for hydration
Store at least three days’ worth of food and water per person. Water should be clean and easy to access.
First Aid Basics
First aid supplies treat injuries and prevent infections. Pack a kit with bandages, antiseptics, and basic medicines. Include items to handle cuts, burns, and pain.
- Adhesive bandages in various sizes
- Antiseptic wipes and ointments
- Gauze pads and medical tape
- Pain relievers and allergy medicine
- Scissors, tweezers, and safety pins
Check the kit regularly to replace used or expired items.
Tools And Equipment
Tools help you perform essential tasks in an emergency. Choose compact, multi-use items that save space and weight.
- Multi-tool or Swiss Army knife
- Flashlight with extra batteries
- Fire starters like matches or lighters
- Emergency blanket or poncho
- Whistle for signaling
- Strong rope or paracord
These tools increase your chances of staying safe and comfortable.
Clothing And Shelter
Clothing and shelter form the backbone of any emergency survival kit. They protect you from harsh weather and help maintain body temperature. Choosing the right items can make a big difference in your comfort and safety. Focus on lightweight, durable, and versatile pieces. Think about the environment you might face and pack accordingly.
Weather-appropriate Clothing
Select clothing that matches the climate of your area. Layers work best for changing conditions. Start with a moisture-wicking base layer to keep sweat away. Add an insulating middle layer for warmth. Finish with a waterproof and windproof outer layer. Include extra socks and gloves for cold weather. Choose quick-drying fabrics to avoid dampness. Avoid cotton as it holds moisture and chills the body.
- Base layer: thermal shirts and leggings
- Middle layer: fleece or wool sweater
- Outer layer: rain jacket or shell
- Extra socks: wool or synthetic
- Hat and gloves
Emergency Shelter Materials
A reliable shelter keeps you safe from wind, rain, and sun. Pack compact and lightweight items that are easy to carry. A small tent or tarp offers great protection. Emergency blankets reflect body heat and take up little space. Paracord and stakes help secure your shelter. Consider a bivvy sack for extra warmth. Shelter materials should be quick to set up and durable.
- Lightweight tent or tarp
- Emergency mylar blanket
- Paracord for securing shelter
- Groundsheet for moisture barrier
- Bivvy sack for warmth
Communication And Navigation
Communication and navigation tools are vital in any emergency survival kit. They help you stay connected and find your way when lost. Without these, dangers increase and chances of rescue drop. Choose reliable and easy-to-use items for your kit.
Signaling Devices
Signaling devices alert rescuers to your location. Bright, loud, and visible tools work best. Include items like:
- Whistle – loud sound travels far and saves energy.
- Mirror – reflects sunlight to catch attention at distance.
- Flare – bright light signals help in dark or far areas.
- LED flashlight – useful at night and for signaling.
Keep these devices accessible. Practice using them before an emergency.
Maps And Compasses
Digital tools fail without power. Paper maps and compasses never do. Learn to read maps and use a compass well. Include a local area map and a compass in your kit.
- Choose waterproof, tear-resistant maps for durability.
- Use a compass with clear markings and a rotating bezel.
- Mark key locations such as shelters and water sources.
Navigation skills increase your survival chances significantly. Regular practice helps build confidence.
Personal Hygiene And Safety
Keeping clean and safe is very important in any emergency. Without regular hygiene, germs can spread quickly. This can cause sickness and slow down recovery. Safety gear protects you from injuries and harmful elements. Preparing these items in your survival kit helps you stay healthy and strong during tough times.
Sanitation Supplies
Sanitation supplies stop the spread of germs. Include items that help you clean your hands and body. Choose products that are easy to use and last long.
- Hand sanitizer with at least 60% alcohol
- Antibacterial wipes or moist towelettes
- Travel-sized soap bars or liquid soap
- Toothbrush and toothpaste
- Feminine hygiene products
- Small towel or washcloth
- Trash bags for waste disposal
Protective Gear
Protective gear keeps you safe from physical harm. It also limits contact with harmful substances. Choose lightweight and durable items that fit well.
- Face masks to reduce inhaling dust or germs
- Disposable gloves for handling waste or injuries
- Safety goggles to protect your eyes
- Bandages and adhesive tape for cuts and scrapes
- Elastic bandages for sprains
- Emergency blankets to maintain body heat
Credit: www.nbcnews.com
Customizing Your Kit
Customizing your emergency survival kit is essential to ensure it truly meets your unique needs. A one-size-fits-all kit might leave out critical items that could make a difference in an emergency. Think about your environment, family members, and even pets when building your kit.
Considering Local Risks
Every region has its own set of dangers. You might face hurricanes, earthquakes, wildfires, or extreme cold depending on where you live. Identify the most likely threats in your area and add supplies tailored to those risks.
- If you live in a flood-prone zone, include waterproof containers and extra water purification tablets.
- In areas with frequent power outages, pack extra batteries and a reliable flashlight.
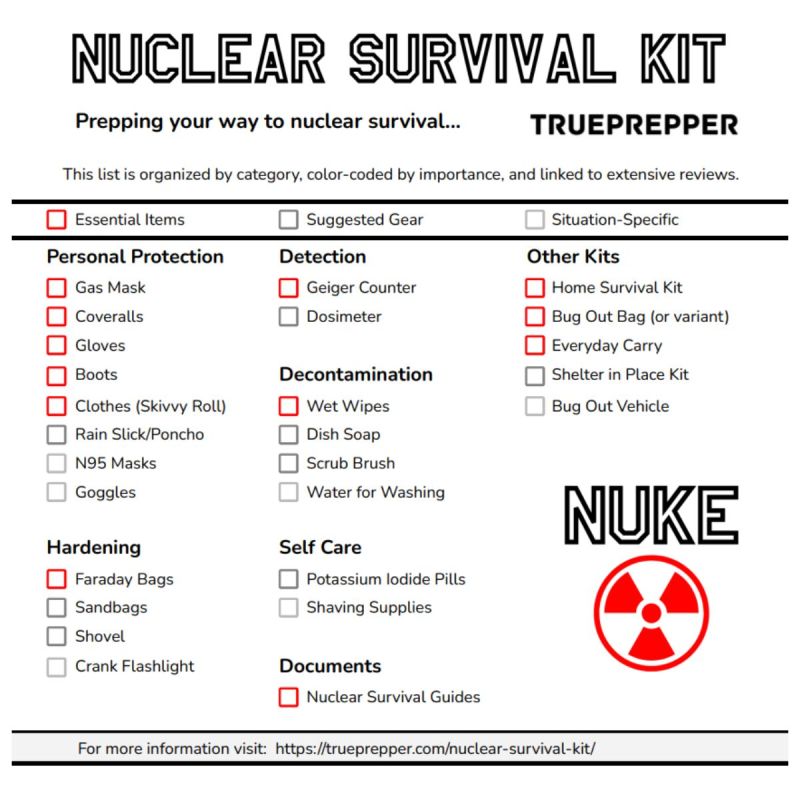
- For wildfire regions, a N95 mask can protect you from harmful smoke.
Ask yourself: What emergencies have happened before? What could happen again? Your kit should be your answer to those questions.
Family And Pet Needs
Your kit should reflect who you’re preparing for. Children may need special medications, favorite snacks, or comfort items to stay calm. Don’t forget elderly family members who might require mobility aids or prescription drugs.
Pets are part of your family too. Include pet food, water, a leash, and any medications your animals require. Have you packed familiar toys or blankets to help reduce their stress during an emergency?
Think about communication tools for each family member, especially if you get separated. Personalize your kit so every person and pet has what they need to stay safe and comfortable.
Maintenance And Storage Tips
Keeping your emergency survival kit ready is crucial for any unexpected situation. Regular care and smart storage ensure your kit works when needed. Neglect can cause essential items to fail or expire.
Regular Checks And Updates
Check your kit every six months. Look for expired food, medicines, and batteries. Replace any damaged or used items promptly. Review your needs and update the kit accordingly.
Keep a checklist to track what’s inside. This helps avoid missing important supplies. Test tools like flashlights and radios to ensure they work. Staying prepared means staying safe.
Proper Storage Locations
Store your kit in a cool, dry place. Avoid areas with extreme heat or moisture. These can spoil food and weaken batteries. Choose a spot easy to access in emergencies.
Consider multiple kits for different locations. Keep one at home, another in your car, and one at work. Use waterproof containers to protect items from water damage. Label the kit clearly for quick identification.

Credit: trueprepper.com
Frequently Asked Questions
What Essential Items Should Be In An Emergency Survival Kit?
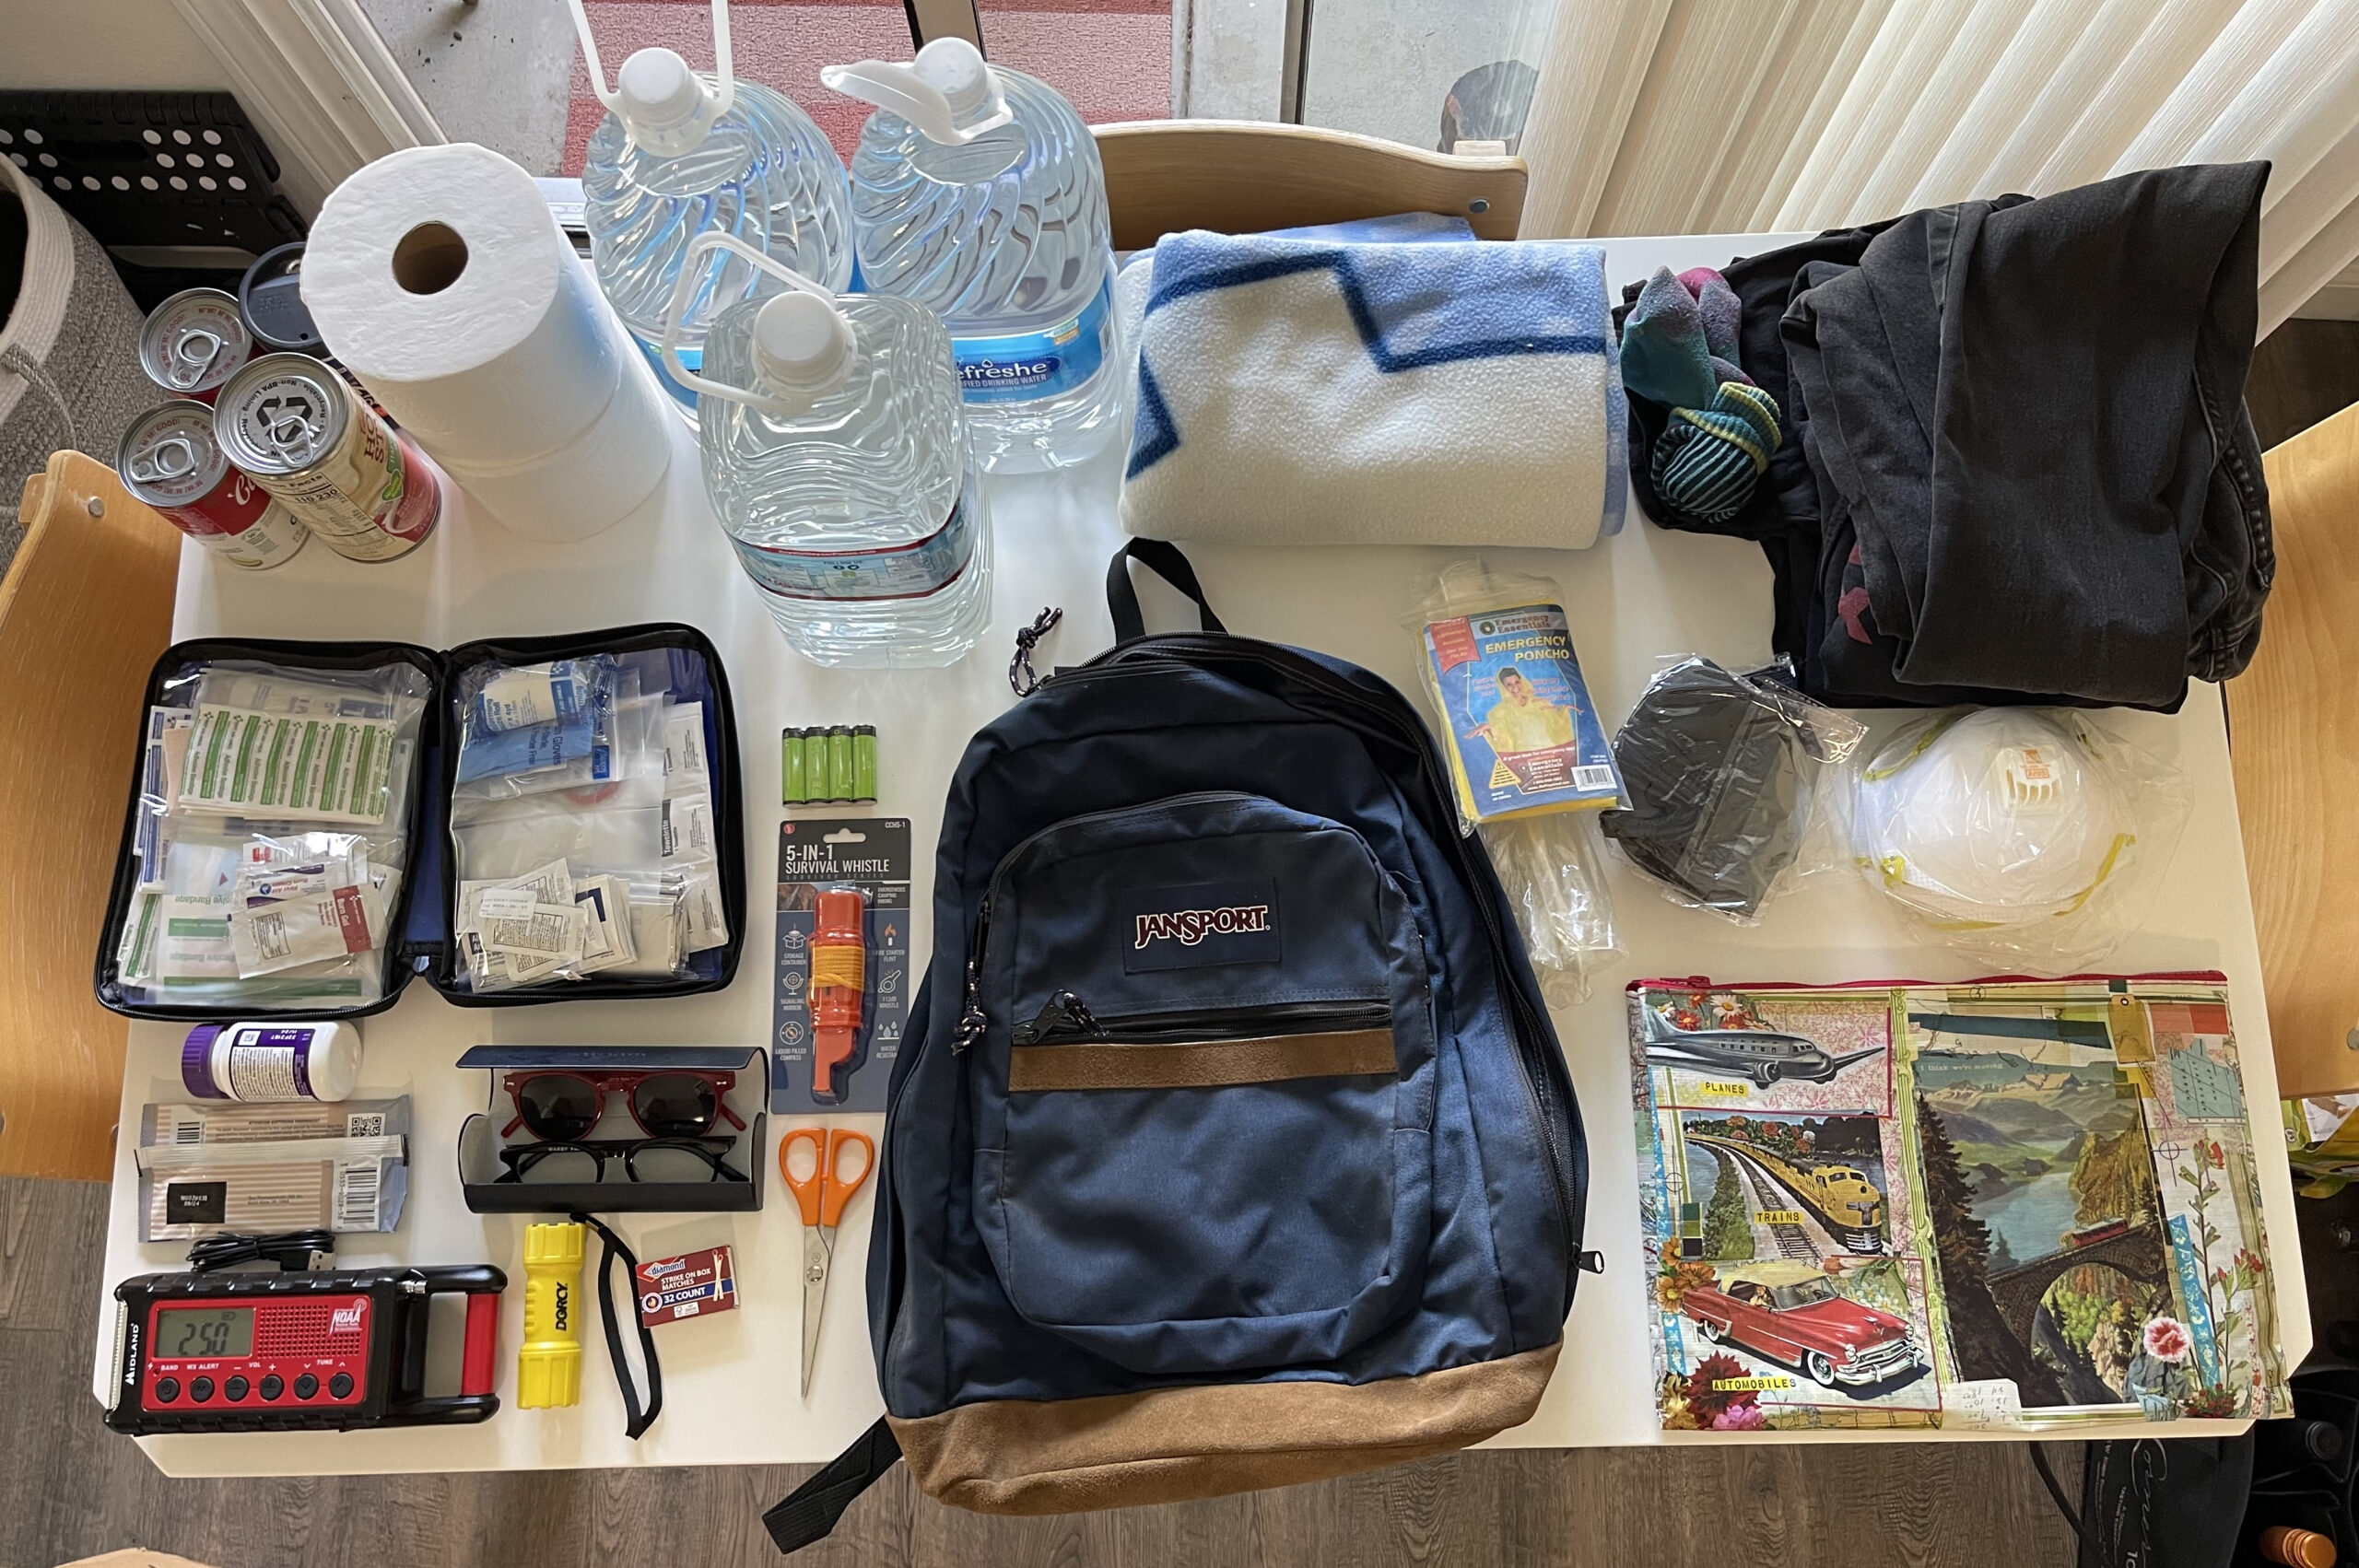
An emergency survival kit must include water, non-perishable food, first aid supplies, flashlight, batteries, and a multi-tool. Add important documents, a whistle, and warm clothing. These items ensure safety, hydration, nutrition, and communication during emergencies or disasters.
How Often Should I Update My Survival Kit Supplies?
Update your survival kit every six months to ensure freshness and functionality. Check expiration dates on food, medications, and batteries. Replace any used or damaged items promptly. Regular updates keep your kit reliable and ready for emergencies.
Where Is The Best Place To Store An Emergency Survival Kit?
Store your emergency survival kit in a cool, dry, and easily accessible location. Ideal spots include near your main exit or in your car. Make sure all household members know its location for quick access during emergencies.
Can I Customize My Emergency Kit For Specific Disasters?
Yes, customize your kit based on local risks like floods, earthquakes, or hurricanes. Include items like waterproof gear, dust masks, or extra blankets accordingly. Tailoring your kit improves preparedness and survival chances during specific emergencies.
Conclusion
Creating your own emergency survival kit is essential. This simple step ensures safety during unexpected events. Gather basic supplies like water, food, and first aid. Tailor your kit to fit your family’s specific needs. Regularly check and update the contents.
Practice using each item so you’re prepared. Store your kit in an easily accessible place. Make sure everyone knows its location. Preparedness brings peace of mind. It could make a big difference during emergencies. Start assembling your kit today. Stay safe, stay ready, and take control of your safety.