Have you ever wondered what you’d do if an emergency caught you off guard? Having a homemade survival kit can be the difference between feeling helpless and staying calm and prepared.
You don’t need fancy gear or a big budget to build one. You’ll discover simple, practical steps to create a survival kit tailored just for you. Keep reading, and you’ll gain the confidence to face unexpected situations with the right tools at your fingertips.
Your safety starts with what you pack today.

Credit: grimworkshop.com
Choosing The Right Container
Choosing the right container for your homemade survival kit is a decision you shouldn’t take lightly. It holds everything you need, so it must protect your items and be easy to carry. Your choice affects how quickly and efficiently you can access your supplies during an emergency.
Durability And Portability
Your container should withstand rough handling and harsh conditions. Look for materials like hard plastic, metal, or heavy-duty fabric that won’t crack or tear easily. At the same time, it needs to be light enough to carry comfortably—think about whether you’ll be hiking, driving, or staying in one place.
Consider containers with secure latches or zippers that won’t pop open when tossed around. I once used a simple plastic box that cracked after a single drop, which meant I had to replace it quickly. Choosing a durable container upfront saves you from that hassle and keeps your kit intact.
Waterproof Options
Water can ruin your supplies fast, so waterproof containers are a smart choice. Options include sealable plastic boxes, dry bags, or cases designed for electronics. Even a regular container can be made water-resistant by lining it with plastic bags or using waterproof tape on the edges.
Ask yourself how likely your kit will be exposed to rain, floods, or humidity. I once kept matches in a non-waterproof container, and after a sudden rainstorm, they were useless. Protecting your survival items from water isn’t just smart—it’s essential.
Size Considerations
Size matters because you want to balance capacity and convenience. A container too small won’t hold everything you need; too large, and it becomes bulky and hard to carry. Think about the essentials you want inside and choose a container that fits them without extra space for unnecessary items.
Try packing your supplies before buying a container. This helps you visualize the space needed and avoid overpacking. If you’re building a kit for your car, you might opt for a larger container, but if it’s for a backpack, smaller and compact is better.

Credit: lovelyindeed.com
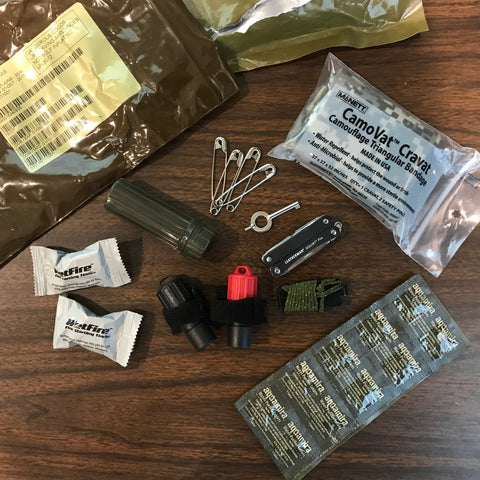
Basic Survival Tools
Basic survival tools form the core of any homemade survival kit. These tools help you manage daily challenges in the wild or during emergencies. Carrying the right items ensures safety, comfort, and the ability to handle unexpected situations. Each tool serves a specific purpose, so choose wisely to cover essential needs.
Multi-tool And Knife
A multi-tool combines several useful tools into one compact item. It usually includes pliers, screwdrivers, scissors, and a knife blade. A sturdy knife is essential for cutting, preparing food, and building shelter. Choose a knife with a strong, sharp blade and a comfortable grip. Both items save space and increase your ability to solve many problems.
Fire Starters
Fire starters help you create fire quickly and safely. Fire is crucial for warmth, cooking, and signaling for help. Common fire starters include waterproof matches, lighters, and magnesium fire starters. Keep these tools dry and easily accessible. Practice using them before an emergency to build confidence and skill.
Flashlights And Batteries
A reliable flashlight provides light in dark or low-visibility situations. Look for a flashlight that is durable and lightweight. Carry extra batteries to ensure the flashlight works when needed. Consider LED flashlights for longer battery life and brighter light. Always store batteries separately to avoid leaks and damage.
Food And Water Supplies
Food and water are the most important parts of any survival kit. Without them, staying alive becomes very hard. A good survival kit must include enough food and safe water for several days. These supplies should be easy to carry and last a long time. Careful choices help ensure you stay nourished and hydrated in tough situations.
Non-perishable Food Items
Choose foods that last long without refrigeration. Focus on items that provide energy and nutrients. Pack foods that are lightweight and easy to eat. Examples include:
- Canned beans and vegetables
- Dry cereals and granola bars
- Peanut butter and nuts
- Dehydrated or freeze-dried meals
- Instant oatmeal and rice
These foods keep well and need little preparation. Avoid items that spoil quickly or require cooking.
Water Purification Methods
Access to clean water is critical. Carry tools to make water safe to drink. Water can carry germs and chemicals that cause illness. Popular purification methods include:
- Water purification tablets
- Portable water filters
- Boiling water for at least one minute
- UV light water purifiers
These methods remove harmful bacteria and viruses. Always purify water before drinking from unknown sources.
Portable Water Storage
Carry enough water containers for daily use. Look for lightweight, durable, and leak-proof bottles. Collapsible water bags save space when empty. Options include:
- Plastic water bottles with secure caps
- Collapsible water bladders
- Metal water bottles or canteens
Store water containers in easy reach. Regularly check for leaks or damage. Refill from safe water sources and purify as needed.
First Aid Essentials
First aid essentials are a vital part of any homemade survival kit. They help treat injuries fast and prevent infections. Including the right items ensures you can handle common emergencies with confidence.
Bandages And Dressings
Bandages and dressings stop bleeding and protect wounds. Choose various sizes to cover small cuts and larger injuries. Keep sterile gauze pads, adhesive bandages, and a roll of medical tape. These supplies help keep wounds clean and reduce infection risks.
Medications And Ointments
Basic medications ease pain and fight infections. Include pain relievers like ibuprofen or acetaminophen. Antiseptic wipes or solutions clean wounds. Antibiotic ointments prevent bacterial growth. Also, add burn cream for skin damage and antihistamines for allergic reactions.
Emergency Medical Tools
Tools make first aid easier and more effective. Pack a pair of scissors to cut bandages and tape. Tweezers remove splinters or debris from wounds. A digital thermometer helps check for fever. Include disposable gloves to keep care hygienic and safe.
Shelter And Warmth
Keeping yourself protected from the elements is crucial when building a homemade survival kit. Shelter and warmth can make the difference between discomfort and danger. You want to be prepared to create a safe space that keeps you dry and maintains your body heat.
Emergency Blankets
Emergency blankets are lightweight, compact, and incredibly effective at retaining heat. These thin, reflective sheets trap your body heat, making them ideal for sudden temperature drops. Carrying one or two in your kit won’t take much space but can save your life in cold conditions.
Have you ever tried wrapping yourself in one? It feels surprisingly warm and can even block wind and rain. Don’t underestimate how something so simple can be a game changer.
Tents And Tarps
A small tent or tarp adds a reliable layer of protection from rain, wind, and sun. Tarps are versatile—you can hang them in different ways depending on the environment. They’re lightweight and easier to carry than most tents.
If you decide to use a tent, pick one that’s quick to set up and compact. Think about how you will anchor it down—paracord and stakes are must-haves. Can you imagine being stuck without a proper cover during a sudden storm?
Clothing And Insulation
Your clothes are your first line of defense against the cold. Layering is key: start with moisture-wicking base layers, add insulating mid-layers, and finish with a waterproof outer layer. Avoid cotton—it holds moisture and chills your body.
Include extra socks, gloves, and hats in your kit because extremities lose heat fastest. Have you noticed how just swapping one piece of clothing can make you feel warmer immediately? That’s the power of good insulation.

Credit: grimworkshop.com
Navigation And Communication
Navigation and communication tools are vital parts of any homemade survival kit. They help you find your way and stay connected when everything else fails. Without reliable navigation and communication, even the best survival skills can fall short.
Compasses And Maps
A compass is a simple but powerful tool to keep you oriented. Pair it with a detailed map of your area, and you have a basic navigation system that doesn’t rely on batteries or signals. Make sure you know how to read both before you need them.
Consider adding waterproof map cases to protect your maps from rain or sweat. You might think GPS is enough, but technology can fail—your compass and map won’t. Have you ever gotten lost because your phone died? That’s why these old-school tools are must-haves.
Signaling Devices
Signaling devices can save your life by alerting rescuers to your location. A whistle is lightweight and loud, perfect for drawing attention. Bright signal mirrors can reflect sunlight over long distances, making them useful during daylight hours.
Don’t overlook flares or small LED flashlights with flashing modes. These can work at night or in low visibility. Think about your environment and choose signals that suit where you are most likely to be stranded.
Emergency Radios
Emergency radios keep you informed during disasters when regular communication breaks down. Look for radios with NOAA weather alert channels to get real-time updates. Hand-crank or solar-powered models are best since they don’t rely on batteries.
Some radios even include built-in flashlights and USB ports for charging devices. Having one in your kit means you can listen for evacuation orders or critical news no matter what. Have you ever thought about how you’d get news if the power went out for days?
Personal Hygiene Items
Personal hygiene items are essential for staying healthy during emergencies. Cleanliness helps prevent illness and discomfort. A well-stocked survival kit must include basic hygiene supplies. These items keep you fresh and reduce the risk of infection. Pack items that are compact and easy to use. Think about your daily hygiene needs and include those items.
Sanitation Supplies
- Antibacterial wipes for cleaning hands and surfaces
- Hand sanitizer with at least 60% alcohol
- Travel-sized soap bars or liquid soap
- Toothbrush and travel toothpaste
- Small pack of tissues or toilet paper
- Disposable gloves for handling waste
- Plastic bags for trash and waste disposal
Insect Repellents
- Insect repellent spray or wipes containing DEET or natural oils
- Insect-repellent wristbands for added protection
- Small mosquito nets for shelter or sleeping areas
- Anti-itch cream or calamine lotion for bug bites
Feminine Hygiene Products
- Sanitary pads or tampons in a waterproof bag
- Feminine wipes for quick cleaning
- Small hand towel or washcloth
- Discreet disposal bags for used products
Customizing Your Kit
Customizing your homemade survival kit ensures it fits your unique needs and environment. A one-size-fits-all kit may not work well in every situation. Personalizing your kit increases your chances of staying safe and comfortable during an emergency. Focus on what matters most based on where you live and your daily activities.
Consider Local Environment
Think about the climate and weather conditions in your area. Include items that protect you from heat, cold, rain, or snow. If you live near water, add waterproof gear and fishing tools. In dry areas, pack extra water and sun protection. Adapt your supplies to local wildlife risks, like insect repellent or snake bite kits.
Address Personal Needs
Include items that suit your health and lifestyle. Pack prescription medications and any special medical supplies. Add snacks that you can eat and store easily. Consider personal hygiene products like feminine care or glasses. Make sure your kit supports everyone in your family, including pets.
Regular Maintenance And Updates
Check your kit every few months. Replace expired food, water, and medicines. Test tools and batteries to ensure they work. Update your kit based on seasonal changes or new personal needs. Keep a checklist to track what you have and what needs replacement.
Frequently Asked Questions
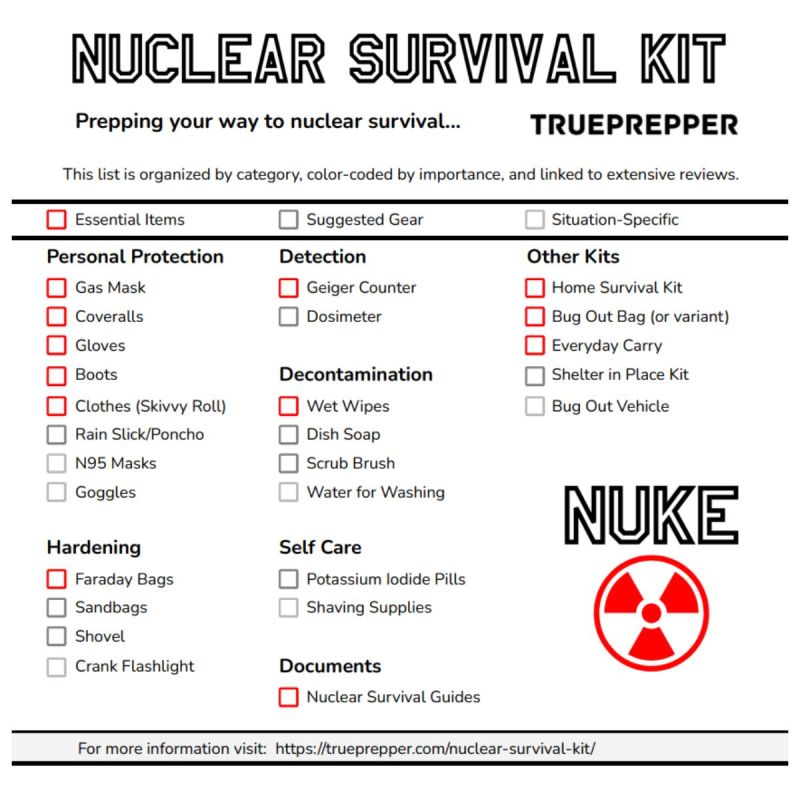
What Are The Essential Items For A Homemade Survival Kit?
A homemade survival kit should include water, non-perishable food, a first aid kit, a flashlight, and a multi-tool. These items cover basic needs like hydration, nutrition, safety, and utility in emergencies.
How Do I Choose The Right Container For My Survival Kit?
Choose a durable, waterproof, and compact container. It should be easy to carry and protect contents from damage and moisture. A sturdy plastic or metal box works well.
How Often Should I Update My Homemade Survival Kit?
Update your survival kit every six months. Check for expired food, batteries, and medical supplies. Regular updates ensure all items remain effective and ready for use.
Can I Customize My Survival Kit For Specific Emergencies?
Yes, customize your kit based on risks like natural disasters or outdoor adventures. Add items like extra blankets, maps, or specific medications to match your needs.
Conclusion
Making a homemade survival kit is smart and simple. Gather basic tools and supplies you trust. Keep your kit small but useful. Check and update it often to stay ready. Being prepared helps you stay calm in emergencies. Start today, and build your kit step by step.
Safety feels better when you plan ahead. A good kit can make a big difference. Stay safe, stay ready, and keep learning.